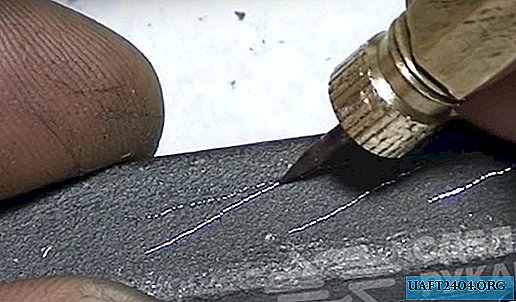
Such homemade work is useful to everyone who works with different metal blanks - this tool allows you to accurately apply markings on any steel surface. Agree, a very convenient thing in the workshop? Now let's move on to the practical part.
Where to start work and what to do?

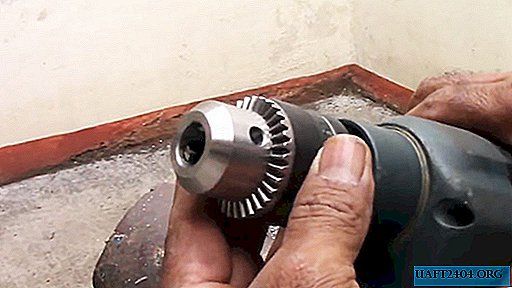
For this homemade product you will need a piece of brass hexagon 7-8 cm long. After that, you will need to carefully and accurately drill holes in the center of the resulting workpiece from two sides - then you need to cut M6 thread into them.
Next, you will need an M6 bolt with a hole drilled in the center - it must be thoroughly screwed into the bottom of the brass hexagon using two keys. Then the head of the bolt needs to be sawed off, and in the rod itself it is necessary to make a cut approximately to the middle of the stud.

At the next stage, you will need to make a special clamping nut, inside of which you need to cut the M6 thread.
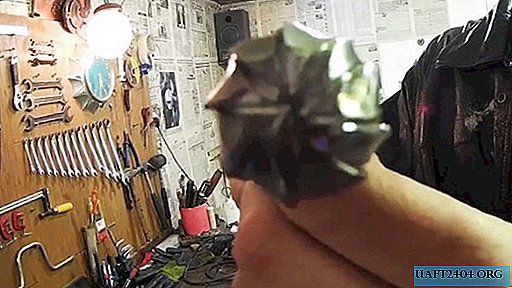
The final touch and the tool is ready!
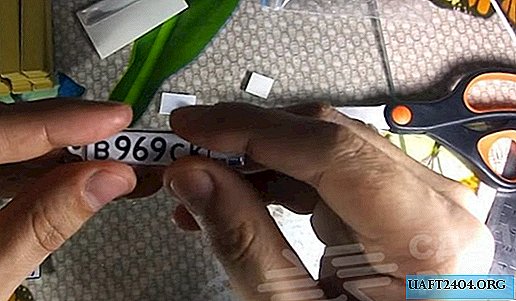
On each side of the brass hexagon, it will be necessary to make incisions so that it does not slip in the hands. After that, you can proceed directly to the final assembly of the tool. To do this, you need to take a special carbide needle (for example, from a gramophone), install it in the slot in the hairpin and tighten it tightly with a clamping nut.

Spare needles can be placed in the opposite end of the case, and the hole itself can be “corked” with a M6 screw trim. That's all, the practical tool for marking metal is ready - it is much more convenient to use it than to draw lines with self-tapping screws or other sharp objects at hand.