Share
Pin
Tweet
Send
Share
Send
In order to diversify these processes, it is possible to make a control panel on a computer. To do this, you need a few details: the front panel, six resistors, three toggle switches, two buttons and 6 LEDs - three red and three green.
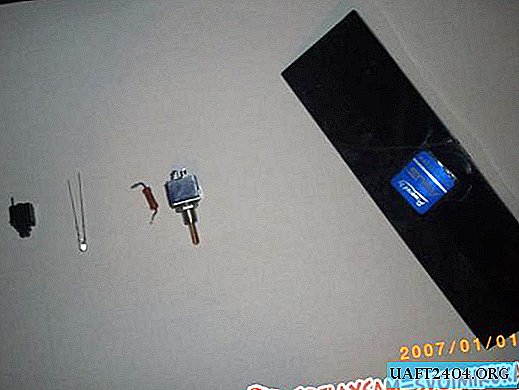
In the panel, you need to make holes for each part and check how well they fit there.

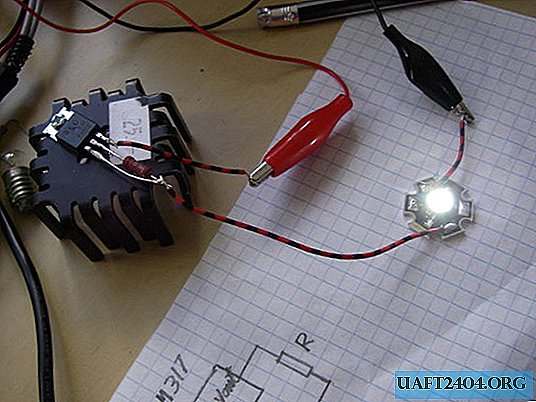
After that, everything needs to be soldered according to this scheme -

It must be noted that if the LEDs are powered by a 12-volt power supply, then they need to be connected only through a resistor, otherwise they will fail.
The calculation of the resistor resistance is performed as follows: the voltage of the LED is taken from the supply voltage and divided by the current strength of the LED.
The circuit is powered by a computer power supply.

After all the elements are soldered according to the scheme and inserted into the front panel, we can assume that the control panel is almost ready. Do not forget about safety! All contacts and soldering points must be insulated! For this, cambric or insulation is used.
But it would be desirable to assemble at least some kind of housing so that the wires are securely hidden in it.

After all the operations done, we check the health of the assembled control panel. To turn on the computer, it is necessary to put the toggle switches No. 1 and No. 2 in the on position and press button 1. To restart the computer, the toggle switches No. 1 and No. 3 must be on and press button 2.

If the control panel is working properly, then mount it on the front side of the computer case.
Share
Pin
Tweet
Send
Share
Send