Share
Pin
Tweet
Send
Share
Send
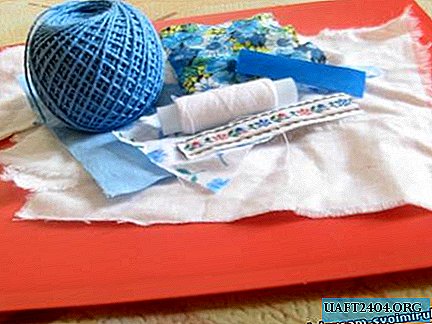
Materials
To work, you will need:
- the chair itself;
- white paint for walls and ceilings, water-based or acrylic;
- green acrylic paint;
- soft brush;
- sponge for washing dishes and clothespin;
- building acrylic varnish;
- PVA glue;
- putty and plastic card;
- a napkin with a suitable image.
Work order
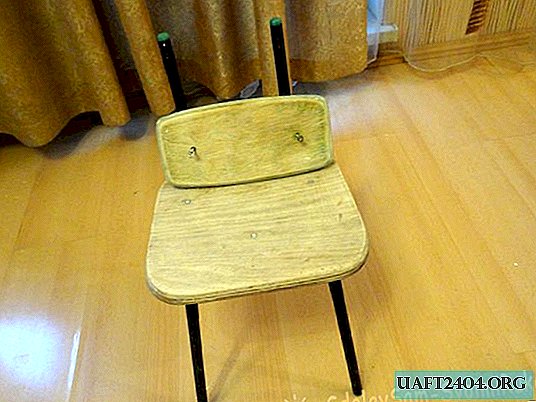
To get started, inspect your high chair. The remnants of the previous paint must be removed with sandpaper. The quality and durability of the new coating will depend on this.
The second step is to level the surface. Take a putty for decorative work, apply it with a very thin layer. For this, not a rubber spatula is suitable, but an ordinary plastic card: its even sides will smooth out the paste on the chair well, it will not even require grinding.


Allow the surfaces to dry: it is best day, in extreme cases, you can dry the chair with a hairdryer and continue to work.
Cut a piece of a clean dishwashing sponge, about 2 by 2 cm., Use a clothespin to make a kind of handle: it will be our foam rubber sponge. Begin to apply white paint on the surface of the chair and its back with this tool (start from the inside, then go to the front side, and it’s best not to touch the lower part of the chair). It is necessary to apply the paint with blotting movements, as if trying to burst the air bubbles that are formed during this.


Let the layer dry or use a hairdryer. Now it's time to choose a background for the highchair. In this case, we take a light green color (white plus dark green). In the same manner, with a sponge we apply two layers of paint sequentially.


After the stool has dried, you can begin to level the surface. Please note: the paint is applied as if by dots, and the chair is not even, but as if velvet. But you can not see the stains from the brush and unpainted areas. Take fine sandpaper and sand the surface. It will take quite a lot of paper: paint particles get stuck on it.


Dilute PVA glue with water so that it is liquid.
Decoupage is the placement on the subject of a colorful layer of a serving napkin. In the shops you can find a wide selection of them. At the same time, it is better to tear out motifs from a napkin than to cut out (this way they will merge with the surface better). But in the event that the drawing has clear edges, you can carefully cut it along the contour with sharp nail clippers.
We have a napkin with butterflies. We cut out the butterflies, even if the motive is incomplete (we will place it on the side).

First, glue the central motif on the seat (three butterflies). To do this, place the drawing in the right place, start applying glue with a soft brush, starting from the middle of the image. Gradually adding glue, gently smooth the napkin, aligning the image. Try not to tear the paper. If you are just starting to learn the decoupage technique, then take small motives: it is easier to cope with them.

In the same way, we place all the butterflies on the chair seat and its back.

After the glue has dried, it remains only to attach the back in place and cover all the beauty with two layers of acrylic building varnish.


If necessary, renew the legs of the chair with black paint.


So, a new piece of furniture is ready! You can find a suitable place for him!
Share
Pin
Tweet
Send
Share
Send