Share
Pin
Tweet
Send
Share
Send
I want to share with you the secret of making beautiful jars for cereals with minimal cost of money. For the base, any dishes in which you, as usual, store supplies will go. Even a glass jar will become attractive and interesting after our work on it.
For work, we need:
- basis (bank);
- fabric (I used a gray canvas, but burlap will look great);
- twine;
- listing on a laser printer of the names of cereals (can be found on the Internet, but you can write and decorate the inscription yourself);
- file;
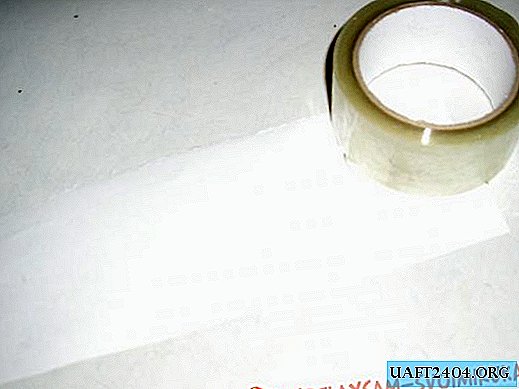
- adhesive tape;
- PVA glue;
- double sided tape;
- acrylic lacquer.
Before starting work, you need to make a printout of a drawing with the name of the cereal on ordinary office paper, which will be stored in this dish. However, it will be a bit thick for our work, because I want to convey the texture of the fabric, and therefore it needs to be stratified. We will do this in the most accessible way. For this we need tape.
On the back side of the printout (white side) we glue a wide adhesive tape overlay, on the entire surface. With pressure, we smooth with a spatula (I used an unnecessary plastic card) to get rid of air bubbles that could get under the adhesive tape.

Now carefully remove the tape from the corner. He leaves us with the top layer of paper. It remains a thin, almost napkin-like picture.

Let's move on to preparing the fabric. By measuring the circumference and height of the base (banks) - cut a piece of fabric.

The upper and lower edges are preferably a little tattered.

At a distance of 1 cm from the edge, stitch “needle forward”, stitch with twine.


Next, we start working with the picture. Dip it in water and let it get wet a little (you should not keep it in water for a long time, otherwise the picture will become limp and begin to tear right in your hands).

We take it out of the water and put it on the file down with a printed image.

We remove excess moisture with a napkin and straighten the picture exactly on the file. We do this with extreme caution, because wet paper is very easy to damage. We cover with a layer of glue.

We attach the picture file to the fabric and use a spatula (or plastic card) to smooth the surface with pressure. And only then gently removes the file.

Let it dry. Then, using double-sided tape, glue the fabric on one side of the can. We make a seam, it can be the most diverse. I made a cross.

Now we cover all this with a layer of acrylic varnish and enjoy the work.

One little tip: if the cans are transparent, it would be better to first paint them with white paint. You can use acrylic or water based. Then all the jars you have will be exactly the same. Well, of course, plug in the fantasy and you will surely succeed.
Good luck
Share
Pin
Tweet
Send
Share
Send