Share
Pin
Tweet
Send
Share
Send
The way out can be a universal quick-release handle, in which you can quickly and reliably install any tool and continue working without wasting time, money or injuring your hands.
Will need
Even a beginner will cope with the planned work if the following materials and tools are at hand:
- a piece of polypropylene pipe;
- carbon fiber sleeve;
- anchor spacer bolt;
- washer under the nut;
- two-component adhesive;
- construction tape;
- burnishing agent.
To cope with the upcoming work, we will need:
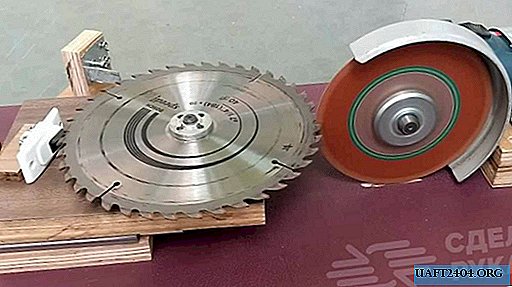
scissors for cutting plastic pipes; triangle and marker; drill and grinder; pincers and a construction knife; sandpaper and file; vice, hairpin, etc.
Handle manufacturing procedure
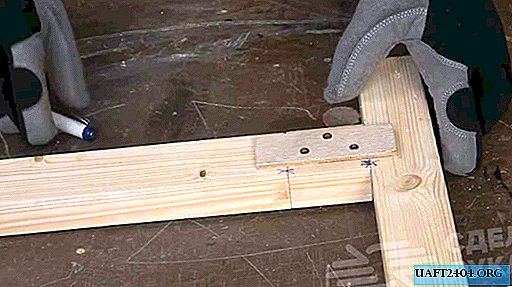
We mark and cut two pieces from the polypropylene pipe, one long, the other shorter. We process the tubes from the outside with sandpaper to give them some roughness (why - it will become clear a little later).

We fix the tubes on a hairpin, on which we wind the belts from construction tape in advance exactly under the inner diameter of the plastic tubes.

We mix the two-component glue in a plastic cup according to the instructions for use, using a dosing syringe and a brush.

We apply the glue obtained on the rough surface of the tubes and pull on top a section of the carbon fiber sleeve, the ends of which are fixed to the stud with plastic clips.
We wrap previously opened sections of the hairpin with construction tape so that when pulling the sleeves on the tubes, they do not stick to the hairpin.

After the carbon fiber sleeve is completely glued to the plastic tubes, remove the clamps, and cut off the excess sleeves and tape with a construction knife.

We cut the hairpin into two parts, on each of which we leave a tube with a carbon fiber sleeve glued. We alternately clamp the ends of the stud parts in the drill chuck, turn it on and process the ends of the tubes with sandpaper.

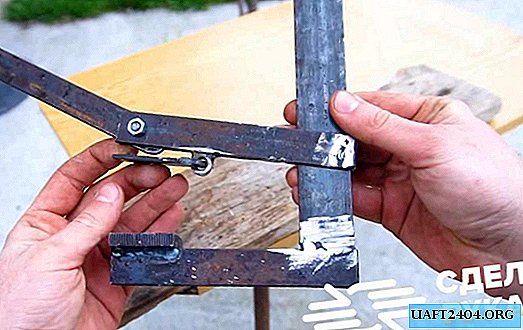
We disassemble the anchor bolt and mark the head (thickened) part of the threaded rod under the axial cut with a gradual exit (for strength) using a grinder. We clean the place of cutting with sandpaper to remove burrs and bumps.


We mark the internal groove on a suitable metal washer under the nut under the nut and execute it with the help of a needle file.

To make the visible parts of our handle look beautiful, we process the ends of the shaft, the washer and the nut in the burnishing fluid. We wipe them with a napkin, after which the burnished parts are ready for assembly.

Alternately, we put a washer with a groove, a long tube, an anchor bolt holder, a short tube on the rod, and at the very end we screw the nut onto the rod thread.


Testing the handle in practice
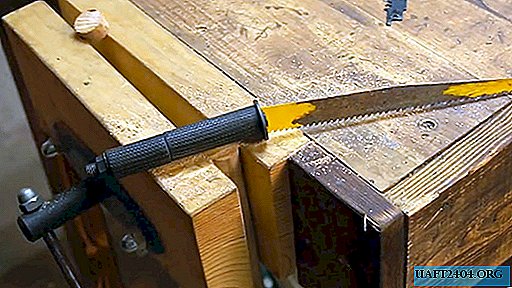
Our handle actually turned out universal and quick-clamping. In it you can install the blades of any saws: reciprocating, for metal, jigsaw, as well as files, knife blades and other tools.


Moreover, replacement takes place literally in a short time: it is enough to combine the groove of the washer with the cut of the rod, insert the tool shank into the slots and turn the clamping nut several times.
It’s very pleasant, convenient, productive to work with a tool with such a handle, and that, probably, the most important thing, is safe.
Share
Pin
Tweet
Send
Share
Send