Share
Pin
Tweet
Send
Share
Send
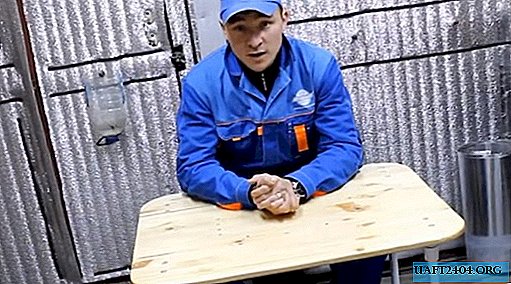
Homemade products of this type are far from new. Furniture transformers were popular in the last century. And the masters, who emphasized such developments, sometimes brought them to incredible functionality. Homemade, presented today, is simple and at the same time very practical. This is a work table for small jobs with electrics, plumbing, etc. It is compact, lightweight, and takes up very little space. And transferring it from object to object will not be any difficulty at all. How to make it? Let's find out.
Necessary materials and tools
Materials:
- Inexpensive furniture board (grade 1-2);
- PVC pipe, diameter - 1 inch or 25 mm;
- PVC fittings (for pipe size): angle 90 ° for mounting the mixer and internal thread - 4 pcs, simple clip - 16 pcs, solder plugs - 8 pcs, coupling with external thread and transition to the pipe - 4 pcs;
- Iron carry handle;
- A piece of furniture thin-walled pipe, diameter - 25 mm;
- Bolts, nuts, washers, screws;
- Varnish or paint, brush.
Instruments:
- Plumbing soldering iron or "iron";
- Drill or screwdriver;
- Jigsaw;
- Sandpaper or grinder;
- Drills, cross head;
- Roulette, pencil, ruler, plate or compass for marking the radius of curvature of the countertop.


Getting to the assembly of the desktop
Countertop Making
For the canvas of the countertop, the author chose a pine furniture panel. Plywood, OSB or chipboard are also suitable. Everyone can determine the size by the purpose of his activity.

Advice!
It is worth paying attention to the placement of the legs under the table, the length of which is usually not less than 70-75 cm. They should not protrude from behind the countertop, which means that its length must exceed this size.
We mark the countertops, starting with the placement of fastening PVC corners with thread. We distribute them at the four corners of the canvas, taking into account that they will be rounded. The author chose bolts as hardware for fasteners.


The middle of the underframe will not be in demand, so we mark the position of the clips on it. There should be four on each side. The interval between them can be minimal, and the distance from both exposure lines should be less than the length of the legs.


The edges of the countertops can be rounded with a jigsaw. You can use a plate or compass to mark the radius. Sandpaper or a grinder will help to process the sawn edges. We drill all the marked holes with a drill or a screwdriver.


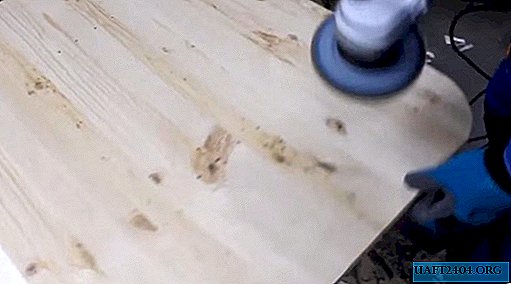


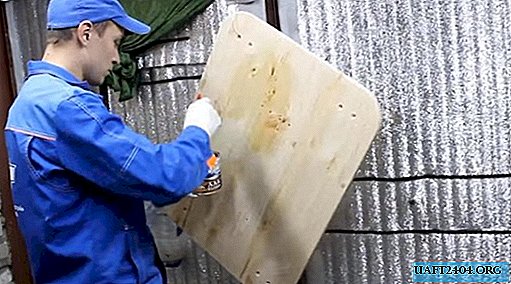
Wood is not a very durable material, therefore, it requires a protective coating. The author chose yacht varnish, which he applied with a brush on both planes of the countertop. So that there are no traces of the stands for decoration, it can be hung on any suitable hook.

We make legs and drawers for the table
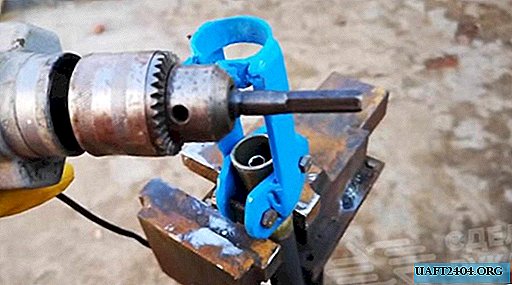
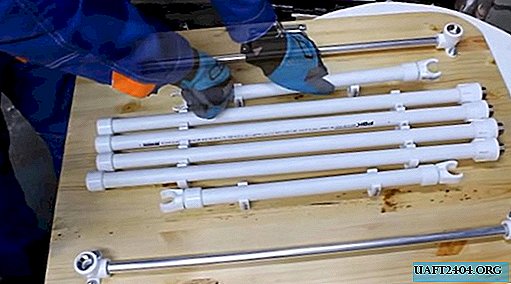
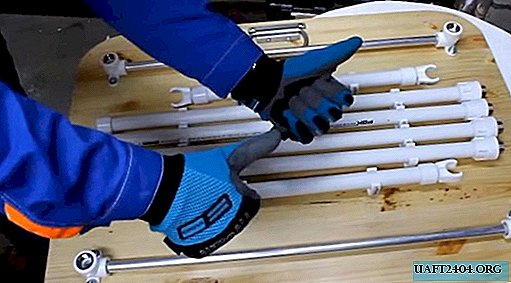
For legs, the author chose a PVC pipe with a diameter of 25 mm. Its height must be calculated so that the sleeve and the plug fit in it. It is better to cut such a pipe with plumbing scissors, but a hacksaw for metal is also suitable. For stiffness, metal furniture suitable for size can be inserted inside the PVC pipe.


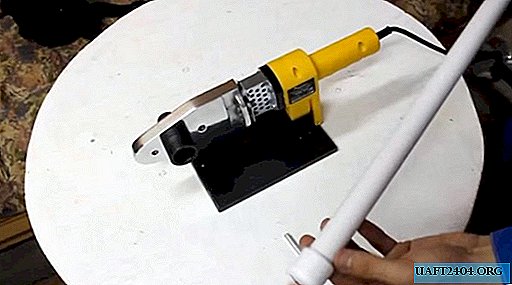
It's time to make a quality connection with a plumbing soldering iron or iron. We expose the appropriate sized sleeves, press them with a hex wrench and set the iron to warm up.
Next, insert the pipe and fitting into the opposite sleeves, heat them and tightly compress the heated ends, while aligning the connection. On each leg of four, a plug and a male thread coupling must be located.
Tsargi are intended for fastening the legs together. This design provides for their placement at any level of the legs. They are also soldered with an iron, and represent a piece of pipe with two plugs into which clips are screwed (photo). The author made only two of them, although the number may be large.


We collect table elements
The tabletop has dried, now you need to install the corners for the legs. Fasten them to the bolts, affixing washers. The connection can be tightened using a ratchet wrench with the appropriate nozzle.
To fasten them together, we put the remains of the furniture pipe between them, tightly holding them between the fixed corners.


With one of the longitudinal sides we fasten the handle for carrying our table. This can be done on self-tapping screws.


Clips for storing legs are also attracted to the bolts. To do this, they have provided mounting holes for the nut. On the side we place several additional clips for storing the tsar.


The work table is ready, and now you can try to screw the legs into the corners, and fix the clips on the clips.


Such a work table can be a real help for a master who needs his own workplace at the facility. You can transport it in any car, and the cost of parts will not burden the budget even for a beginner craftsman.
Share
Pin
Tweet
Send
Share
Send