Share
Pin
Tweet
Send
Share
Send
It all started with a simple experiment - they bought clay and tried to cope with my daughter ... and for almost a year now I have been making jewelry from this material for myself, my friends and for the order. I share my experience.
So, you need to take the molding for modeling and prepare the clay of the necessary colors, a stack and a tube (rolling pin) for rolling. For this bracelet you need clay of the most different, brightest shades - the more diverse - the better. (Buying it now is not a problem).
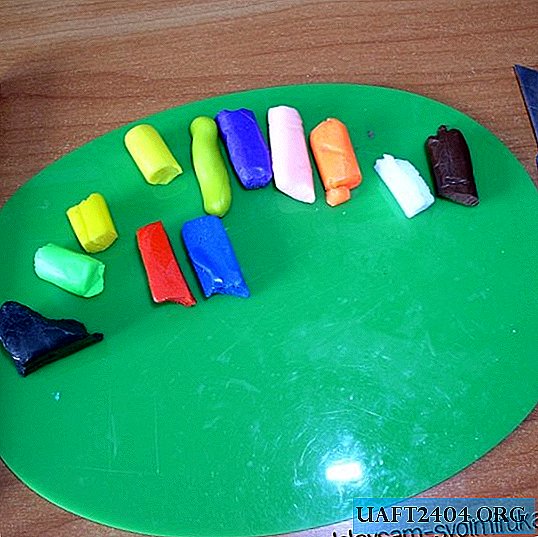
Take a small piece of clay, knead and roll a “sausage” from it. Knead the second piece and roll it into a cake of such a size that we can wrap our "sausage".

Next - we wrap up what happened in a clay cake of the third color. Such multi-color "sausages" need to be done 9 or 12.

We put all the resulting “sausages” together into a cube of three little things in a row, shifting the junction with thin black “sausages”.

Next - roll out a large piece of black clay, so that the entire stack is wrapped on the sides. Here is the result.

Now, this large “sausage” needs to be squeezed to the required thickness. To do this, starting from the middle, you need to gradually stretch it in different directions, while trying not to press too hard. After the workpiece has reached the required size, it needs to be cooled so that it cuts more evenly. (I just put it on the balcony for 5 minutes!)
Further - we begin to carefully cut the rectangles from the resulting workpiece with a stack. I intentionally did not try to give the pieces a particularly even shape - so they look more "hippo".

And from substandard edges and remains, several beads have turned out. Then everything is laid out on a metal mold and sent to the oven for 15 minutes for baking at a temperature of no more than 140 degrees. After cooling, you can cover the workpieces with special varnish to make them look more bright.
And the last stage: with the help of round-nose pliers and special bijouterie rings we connect all the elements into a bracelet.

You can add an interesting touch in the form of an original pendant.
Here's a beautiful, bright, and most importantly absolutely original bracelet! Nobody will definitely have such a thing !!!


Share
Pin
Tweet
Send
Share
Send

