Share
Pin
Tweet
Send
Share
Send
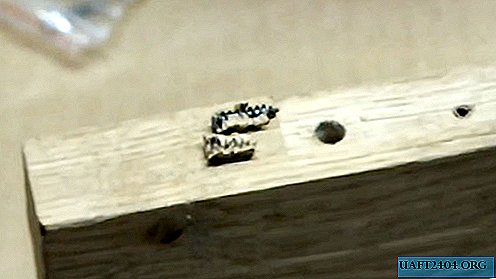
There are such unforeseen situations when a self-tapping screw breaks off. This can happen with excessive force of screwing, or simply over time, it can rust and lose its strength. Often scrapping occurs near the head of the screw, and the main body remains in the wood.
If the connection design allows you to slightly move the self-tapping screw to the side, then this is not a problem, but if you need to screw the new one exactly in the same place? For example, in a door hinge, what to do in this case? There is always a way out. The matter, of course, is not entirely pleasant, but quite fixable.
Will need
- Handset from telescopic antenna.
- A metal rod along the inner diameter of a piece of tube.
- Scalpel.
- Screwdriver.
- Chisel.
- PVA glue

We remove the broken off self-tapping screw
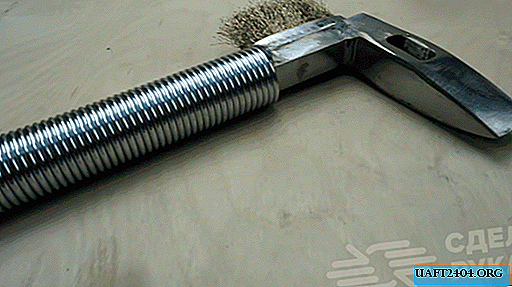
So, the first thing you need to find is a tube whose inner diameter will be larger than the diameter of the stuck fragment of a self-tapping screw. We disassemble any antenna from the old receiver and pull out one knee. Now this good everywhere in bulk, there should be no shortage.
We will make a special tool for extracting the debris from this piece. To do this, one end of the tube must be trimmed with a file to a flat surface, and then make it sharp with a scalpel, cutting the edge in a circle at an angle.

The other end of the tube must be clamped into the chuck of a screwdriver, but it just won’t be able to do this, as it will simply be squeezed when tightened. To avoid this, you need to insert a metal rod into it, which will prevent the tube from flattening.

Clamp in the cartridge.

Now we rest against a chip and drill it together with a tree.

We drill until the tree around the wreck itself breaks off and in the end you can simply remove the wreck.

Instead of the debris, a smooth and beautiful hole remained.


Now, as you probably guessed, it is necessary to glue a wooden cap into the resulting hole. We drip the glue and spread it evenly throughout the hole.

Then we hammer in the cap, the denser the better.

Sticking out surplus cut off with a sharp chisel flush.

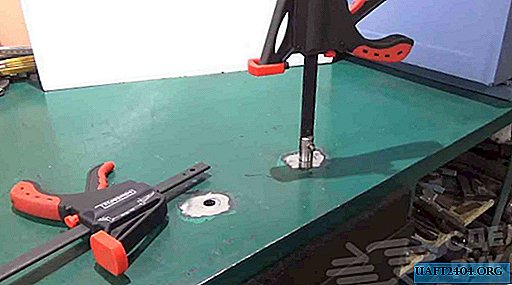
That's the whole repair. Now we lean the loop in place and make a mark with an awl in the center of the hole.

We wrap a new self-tapping screw in place.

As you can see, everything fell into place, the product became fully operational and regained its original appearance and functionality.
Share
Pin
Tweet
Send
Share
Send