Share
Pin
Tweet
Send
Share
Send
To create a cover, we need to take:
• 100% cotton fabric beige and gray with white polka dots, 20 * 25 cm;
• Block for notebook A6 format with bookends;
• Two blanks from binding cardboard 10 * 15 cm;
• Sheet sintepon;
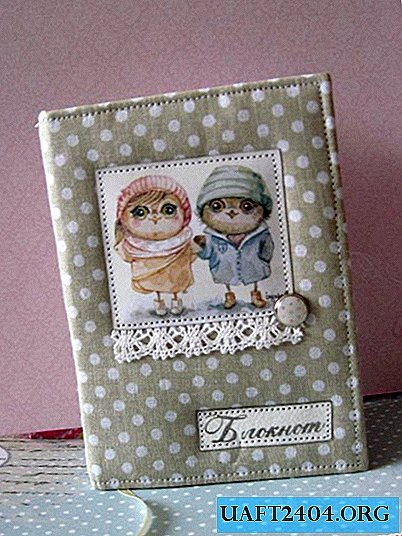
• Picture with owls;
• Gray cardboard;
• Stamp acrylic "Notepad", black ink;
• White cotton lace and brown;
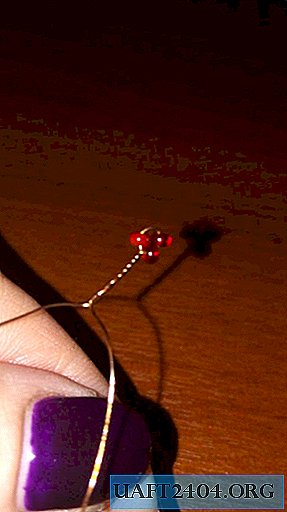
• Brads epoxy beige with polka dots in a metal frame, round shape;
• Narrow beige ribbon 3 mm wide;
• Pendant metal Eiffel Tower bronze color;
• Stationery clips;
• Clerical glue and glue "Crystal Moment";
• Double-sided tape;
• Scissors, a ruler with a pencil;
• PVA glue;
• Bandage;
• Glue gun.

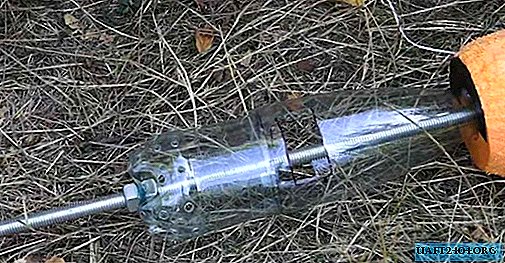
Billet cardboard blanks measuring 10 * 15 cm, put them side by side at a distance of 1.5 cm from each other. We cut the gray cardboard 15 cm long and 3.5 cm wide. Divide the width into three parts 1 cm, 1.5 cm and 1 cm, draw bending lines under the ruler, draw the lines with scissors.


Both sides, which are smeared with PVA glue by 1 cm and are glued together in this way to binder blanks made of cardboard. We smooth and smooth the scoring line again with scissors so that the workpiece closes well. The synthetic winterizer is cut exactly to this resulting blank in an open form. We glue the pieces of double-sided tape and glue the synthetic winterizer to the binding cardboard so that it does not move.


Iron the fabric well, put it face down, now put the workpiece with synthetic winterizer down, wrap and glue the “Crystal moment” on all sides, smooth it well. Glue a piece of brown lace to the places of bends.


We stamp the inscription, cut it out, glue the picture and the inscription, glue the lace under the picture.


We sew the inscription and the picture with a typewriter. We insert brads in the corner of the picture. Cut the bookmark, glue it on the second side of the cover. Stitch the cover around the perimeter, departing from the edge of about 2-3 mm, keep the same distance everywhere. The cover itself is ready. Now we will stick it to the block.


We smear the block with glue, glue the folded bandage on it twice, smear it well with glue, insert it into the cover, smear the sides of the bookends and smooth it. All together now we wrap with paper and clamp with office clips. Leave in this position for 24 hours.


Remove the clamps. We open and close several times and our notebook is ready! It turned out here is such an interesting notebook with owls. Thanks for your attention!


Share
Pin
Tweet
Send
Share
Send