Share
Pin
Tweet
Send
Share
Send
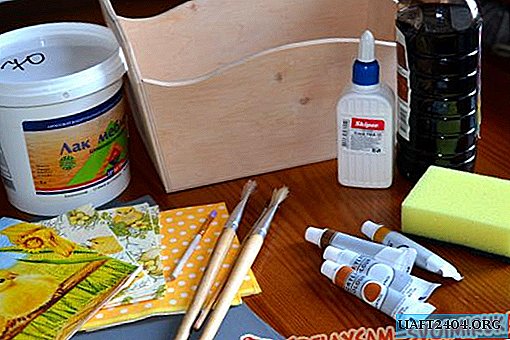
- foam rubber
- cylinder with silver paint
- cutting knife
- needle
- white threads
- silver sequins
- white acrylic paint
- satin ribbon silver
- large beads a la pearl
- rhinestones
- decorative plastic snowflakes
- tape measure
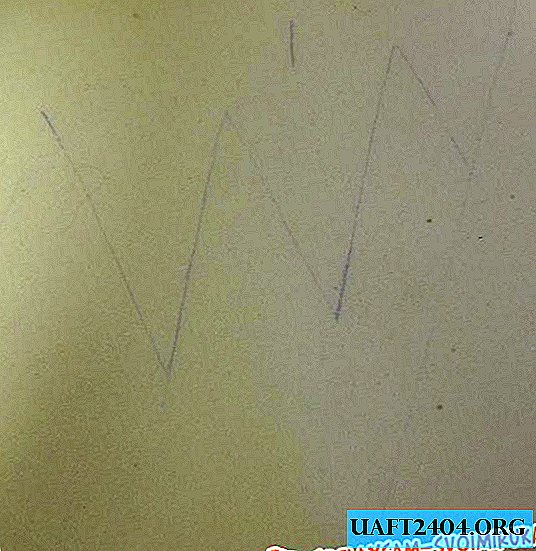
Cut out the base of our crown. We make measurements: girth of the head (30 cm), the height of the future product (the highest point - 25 cm). We make a triangle out of paper, apply it to the foam rubber and translate the crown pattern - characteristic teeth of different heights (7 teeth in total).
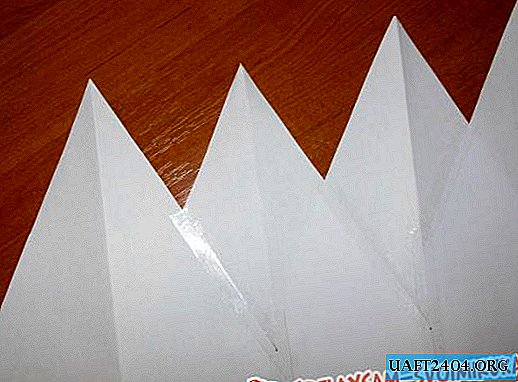
We cut the workpiece along the planned lines with a cutting knife.

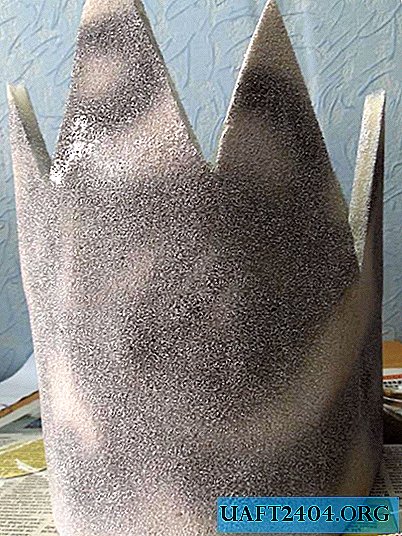
Next, paint the base with white acrylic paint on both sides, leave to dry for a day. We sew the product along the back bend.

We proceed to the next stage. We take a cylinder with silver paint and apply frosty patterns, leave to dry.
We begin to decorate our crown for the Snow Queen. We take beads a la pearl and sew them along the edge of the teeth, then we fix the satin ribbon along the rim of the product and fix the rhinestones.

We arm ourselves with decorative snowflakes, which we place on each pointed end of the crown. We begin to work with sequins, spread them with a pattern on the front side of the crown and fix with the help of the same thread with a needle.
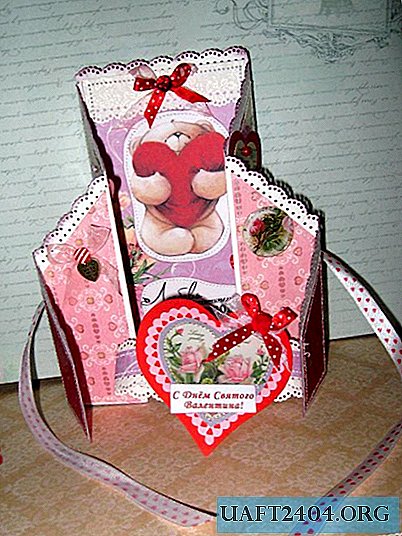
Our crown for the Snow Queen is ready.

If you have a white wig, then the image will turn out to be fabulous. On New Year's Eve from such an icy beauty, it is as if no one will be able to look away. So go for it!
Share
Pin
Tweet
Send
Share
Send