A homemade mini wood lathe will allow you to perform various operations on the processing of wooden blanks. Do it yourself is very simple, and this does not require "exotic" materials. The main components of the lathe, including the bed, are made of plywood and bars.

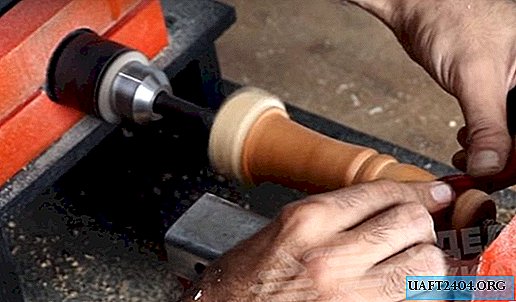
A conventional power drill is used as a drive - its power will be enough to process small parts made of wood. A homemade turner is installed on the desktop or workbench. Thus, you do not need to free up additional space in the workshop.
The main stages of work
The first step is to make a bed for a lathe. To do this, cut out a plywood sheet of suitable sizes, make a marking, drill two holes in the central part, and then use a jigsaw or a band saw to make a longitudinal cut.

Then we fasten the plywood sheet to the two wooden blocks with self-tapping screws. Next, we fasten two more transverse bars to get a rectangular frame. Then, from pieces of plywood cut to size, it will be necessary to make a pedestal for an electric drill. We attach it to the frame on self-tapping screws, having previously marked and drilled holes.

For reliable fixation of the drill, we use a home-made wooden clamp, which can be made of two short bars and bolts with wing nuts.
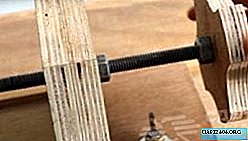
Then, from two guide rails and pieces of plywood, we make a tailstock with a clamping screw, the edge of which is sharpened under a cone, and a movable support for the tool. The result is a simple desktop lathe for a home workshop where you can process small wooden workpieces.