Using a simple home-made compass for metal, which can be made from available materials, it is very convenient to draw circles of different diameters and radii on metal workpieces. Such a tool is useful in any home workshop, especially if you often have to deal with metalworking.
The first step is to draw and cut four patterns of the basic elements of the future compass. The long leg should be 200 mm long, short - 170 mm. Also, it will be necessary to make two “nozzles” of 70 mm length.
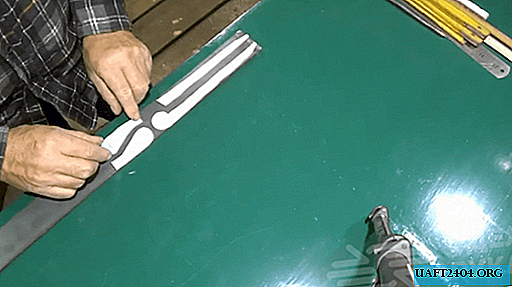
We transfer paper templates to a 2 mm thick metal blank. To fix them on the surface, use glue. You can also just “grab” the templates using ordinary tape.
The main stages of work
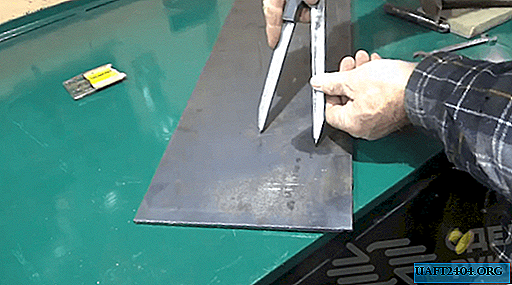
We cut four blanks from a steel plate. This can be done using a grinder, or on a band saw with a metal blade. In this case, using a jigsaw will not be very convenient.
After we cut out all the workpieces, we process the parts on a belt grinding machine to remove burrs and give them the necessary shape.

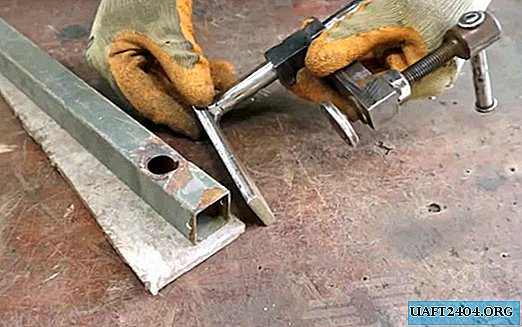
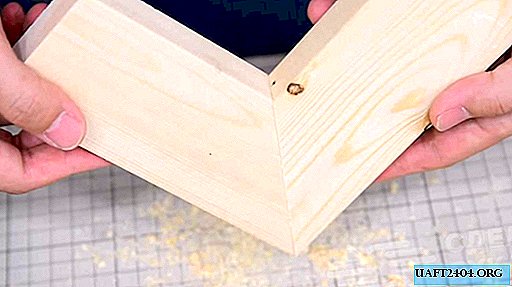
At the last stage, we join two "legs", then we attach two "shorties" and scald. Bringing beauty to the grinding. Then it remains only to drill a hole for the connecting bolt, and two holes in the ends of the "legs" for installing carbide tips.

For details on how to make your own homemade compass for sketching circles on metal blanks, see the video on the website.