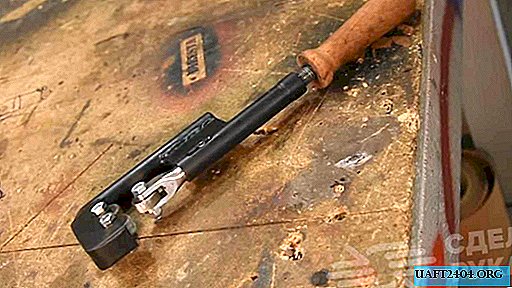
If you take an ax with you when hiking, going to the forest or fishing, it is better to use a leather case for its transportation. And you can do it yourself.

A leather case will not only protect you from accidental injury, but also protect the cutting edge of the ax from direct contact with various hard objects (for example, if you carry the ax in the trunk or carry it in the tool box).
In general, a leather case is a useful and very necessary thing. For its manufacture, it is desirable to have at least initial skills in working with leather, and you will also need the appropriate tool (if you want the finished product to look perfect).

The main stages of work
And first of all, the author circles the ax on a piece of paper, and thus gets a simple template. Then it will need to be cut and transferred to a piece of leather.

Further, the author cuts the blank of the desired shape from the skin already. Fold the cut piece in half and get the shape of the future cover.

At the next stage, a strip of skin is cut, which must be glued between the two halves of the cover. First, it will be necessary to strip the edges of the skin with sandpaper in the place of gluing.

Case manufacturing process
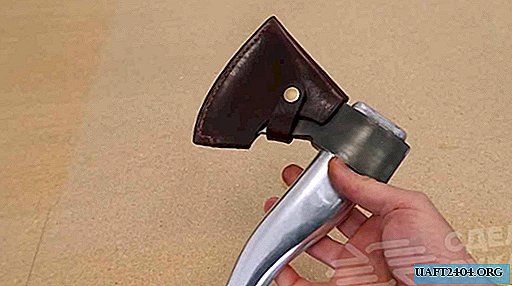
Using a special tool (tortsbil), the master chamfers the ends of the skin. As a result, the ax case itself takes on a more accurate look.

Next, a groove for the seam is made, and with the help of a punching fork, the author punches holes for the thread. By the way, it is best to use a waxed thread.

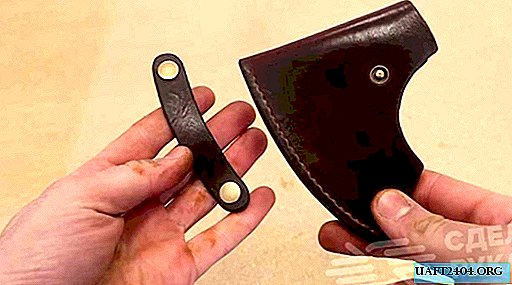
In the end, it remains only to cut a small strip of leather, which will be used to fix the cover. On the strip you need to fix the metal buttons.
For details on how to make a leather case for an ax with your own hands, we recommend that you look in the video on our website.