Share
Pin
Tweet
Send
Share
Send
Will need
For the manufacture of homemade products, we will do with simple materials and components:
- plexiglass;
- with screws 3.0 × 16 mm;
- bearing;
- round flat magnet;
- glue.
In work on a marking device we will have to use: milling and drilling machines; jigsaw; mechanical emery wheel; dremel; vise, clamps and clamps; screwdriver and mallet.
Given the purpose of the device, we will have to use: a metal ruler; square with an emphasis; marking surface gage; compass; scriber; goniometer-protractor.
The procedure for working on the marking device
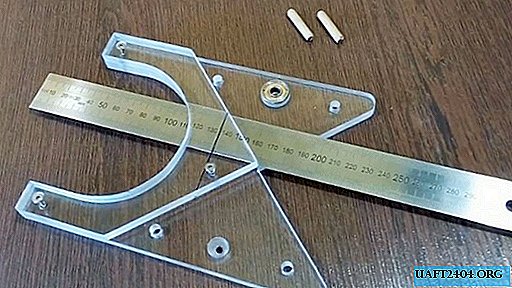
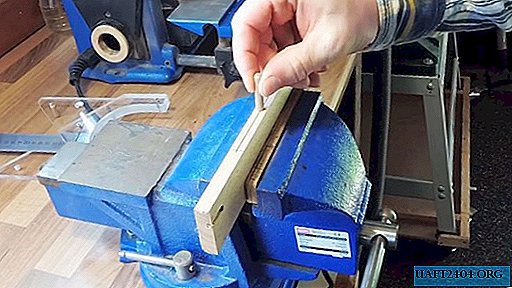
From plexiglass we carry out the basic elements of universal marking - two plates of 14 × 20 cm and 14 × 13 cm.

We mark on a large plate an angular notch along the length from the smaller side at 45 degrees.

Mark the groove for the ruler.

Using a large plate and a ruler, mark out a smaller plate and give it the shape of a “house” with a “roof” angle of 90 degrees and a “base” of 14 cm.


We combine the plates with equal sides and the protractor protractor control the coincidence of the sides.
After setting up the milling head, we milling the groove for the ruler so that one of the side faces passes exactly in the center of the plates.


We remove the protective paper, put the ruler in the groove, put the second plate on it and check the ruler's movement.
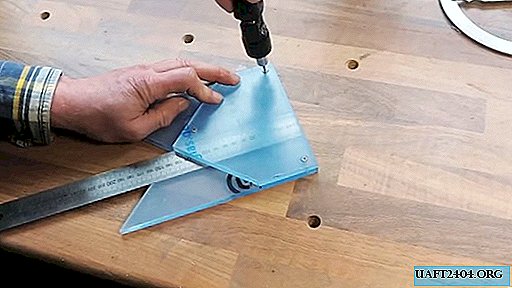
Marking holes plan holes for mounting screws.
Check the accuracy of the relative position of the plates horizontally and vertically by installing it on a flat surface and using a square.
We fix the plates with two clamps and drill holes, reaming holes for the heads of the screws.

Before fixing the plates, we check the accuracy of their location according to the ruler installed in the groove, by marking the right angle on the rectangle of multilayer plywood.
We drill previously marked holes on the plates and fasten them with screws.
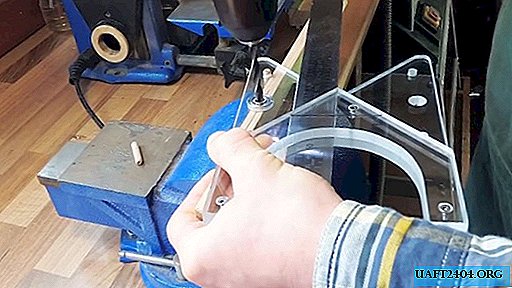
Using a ruler, a pair of compasses and a square, we mark out a semicircular cut, symmetrical to the total area of the two plates. Using a jigsaw, we cut and cut the sharp edges of a large plate.

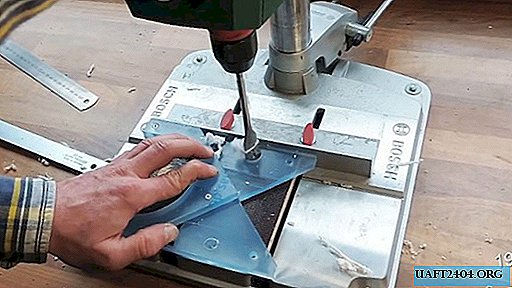
We grind the cut profile with sandpaper on the cutter mounted on the spindle of the drilling machine.

We drill a series of symmetrical holes with two spiral and one feather drill on a large plate.

We unscrew the screws and disconnect the plates.

In the center of the groove for the ruler, we mill a blind recess.

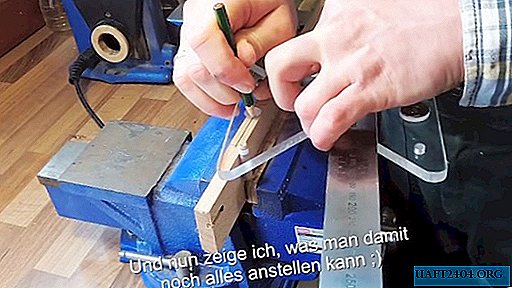
Round the ends of the cutout on a mechanical emery wheel.

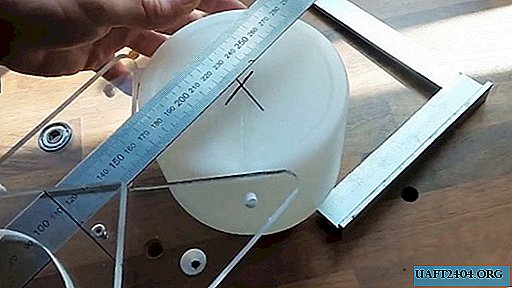
If desired, you can stick a measuring tape on the ruler. On a small plate parallel to the base, draw a line in the center between the top of the cutout and the outer corner. We remove the protective paper and polish the plates with a dremel using polishing paste.

In a large nest in the plate, we put a bearing on glue. For a better fit, use a plastic mallet.

We also install a round magnet in the socket located in the groove for the ruler. Excess glue is removed with a napkin.

We put the ruler in the groove where it will now be held by a magnet. We assemble the plates with the help of three screws and a screwdriver.

We test a marking device by plotting a right angle on a reference rectangular plate. Its check with a protractor protractor confirms the absence of inaccuracies.

The use of a homemade marker
Our device can perform a number of markups and operations:
- Marking and installation of dowels. We put the device on the end face of the workpiece, insert a limiter rod in the bottom hole, which, sliding along the surface of the workpiece, will provide a parallel line with a pencil inserted into another hole.
- Drilling holes. The limiter rod is rearranged in another hole so that it slides on the outside of the workpiece. We bring the bearing to the mark and perform drilling.
- Marking the center of the round part. The sides of the corner groove rest against the side surface of the workpiece and draw a line in the center area with a pencil in a line. We turn the part and draw the line again. To control accuracy, we carry out the third line. The intersection of the lines will be the center of the circle.
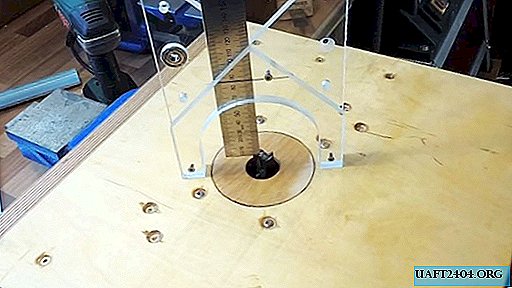
- Setting the milling depth. We put the scribe over the mill and abut the end of the ruler at its end. Using the sight on the plate, we determine the height of the cutter exit.


And these are not all the applications that this device can have!
Share
Pin
Tweet
Send
Share
Send