Share
Pin
Tweet
Send
Share
Send
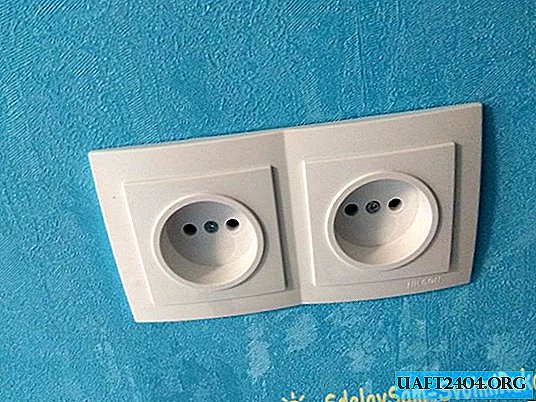
As a rule, the standard number of outlets, which were originally installed in Soviet-style apartments, does not meet the needs of modern people. Today, a family of three people needs many times more outlets than several decades ago. For example, you need to charge smartphones, tablets. In the summer, one outlet can be occupied by mosquito repellent. To this, it is also necessary to add household appliances. Therefore, it may be necessary to increase the number of outlets. This work can be done independently. However, if you don’t have any electrical skills at all, then run the cable from the junction box, or from the electrical panel to the place where you plan to place the sockets, it is better to entrust it to specialists. The rest of the work can be done independently, since there is nothing complicated about it. In addition, you can save a lot.
DIY outlet installation
First, measure the height where the outlet will be located. Immediately plan how the furniture will stand, so that it is convenient to approach the outlets, as well as convenient to connect to them. Draw a pencil in line with the line along which you will drill holes for the socket. If you plan to install several outlets in a row, then all the holes should be drilled horizontally to each other in a circle. To drill holes you need a drill or punch.


If the wall is brick or concrete, it is better to use a hammer drill. You will also need a crown for the holes in the socket. They are also different, depending on which wall you need to drill a hole in (drywall, brick, concrete).
Next, turn off the power in the meter, or dashboard. Once again, make sure that there is no power using the indicator. Now you can confidently pick up the cable in your hands. Clean all wire conductors from insulation at the edges by approximately 10 mm.
The next stage is the installation of the sockets. They also need to be set in level. Fix the socket can be putty or twist the screw in the center of the socket. The second option is more reliable, since over time the putty can crumble, and if you screw on a self-tapping screw or quick installation, then even after a while the socket will not pop out. Even if you sharply remove the plug from the outlet without holding it.


On the sides and top, the rosette has holes that can be freed by cutting them with a knife. This is necessary in order to lead the main cable to one of the sockets, and then connect the remaining neighboring sub-sockets with a wire. Two cables of different colors should come out of each socket.
If you plan to make further repairs in this room, it is necessary to insulate the wire, and put the plugs so as not to damage it during work. Some install outlets after wall decoration.


Next, you can proceed with the installation of outlets. To do this, first install the internal housing of the outlet, where the contacts will be connected. In different types of outlets, the holes where the wires are inserted are arranged differently. In this case, they are on top. Therefore, pliers can bend the wire so that it is convenient to insert into the clamps.


Loosen the clamps by unscrewing a few screws, and then insert the two wires into the left and right grooves. It does not matter which of the wires is left or right, the main thing is that they are not nearby. Then tighten the clamps well by tightening the screws.


After that, check once again how well you fastened the wire in the grooves by pulling it. If you clamp the wires loosely, then over time they will begin to melt, and this can lead to a short circuit. Further, the inner case of the outlet can be installed in the socket, twisting two screws. The same is done with neighboring outlets if you install several in a row.


Next, you can connect the power to the shield, and make sure that you have connected everything correctly. You can check if there is power in the sockets by the indicator. If everything is in order, then you can install the plastic housing of the outlet, which is mounted on the screw located in the middle.


Usually sockets are sold single, but if you need a bundle of two, three, four sockets, then it is bought separately.
That's the whole technology of installing an internal outlet.
Share
Pin
Tweet
Send
Share
Send

