Share
Pin
Tweet
Send
Share
Send


Hello to all! This summer I went with a few friends on a 5-week hike to the Alps. Spent time left a lot of positive impressions. But during this journey, I found that I forgot one very important tool - an ax. After a long day in the mountains, it’s nice to sit by the fire and drink beer. But to start a fire without an ax, we had to spend a lot of time in search of small branches that can be broken manually.
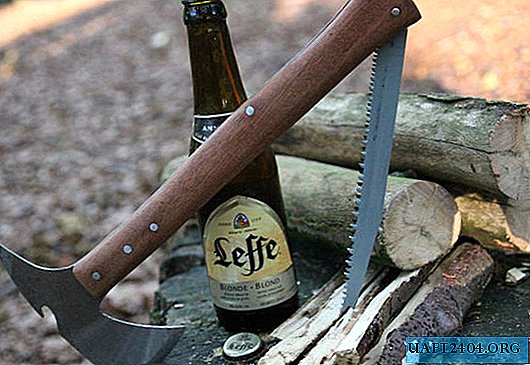
Therefore, as soon as I arrived home, I had an idea to make a tourist hatchet, in which, as in a knife, a saw is hidden and there is an opener for beer.
In this master class I will tell you how to make such an ax myself.
Ax design


The design of this ax consists of three parts.
Ax blade
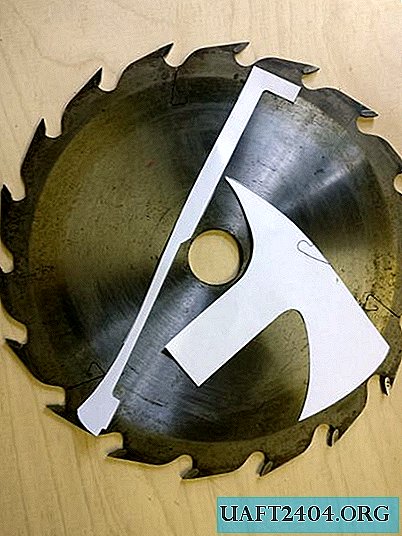
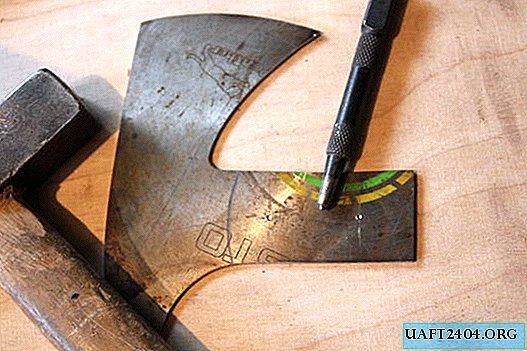
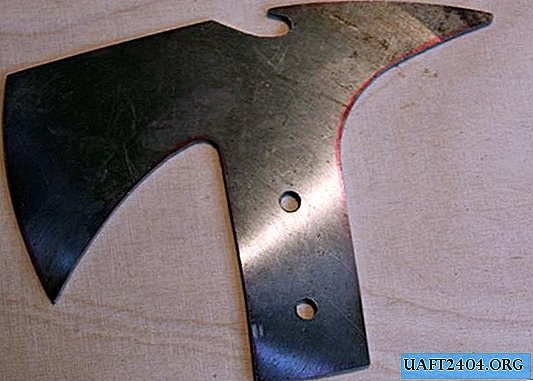
The shape of the blade was borrowed from the Tomahawk - an ax used by Native Americans and European colonists. But you can change its shape by adding a few spikes or a hammer on the butt. The ax blade will be glued to the handle and riveted.
Opener
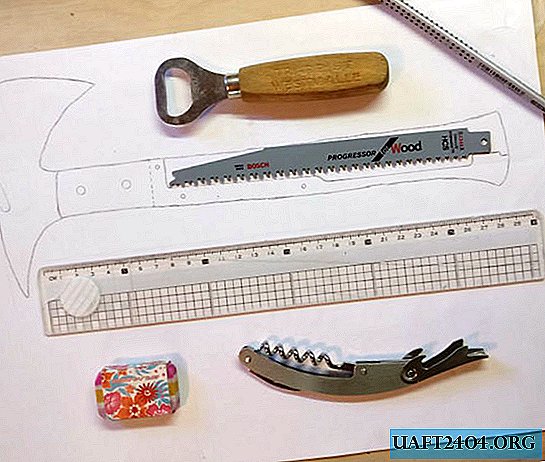
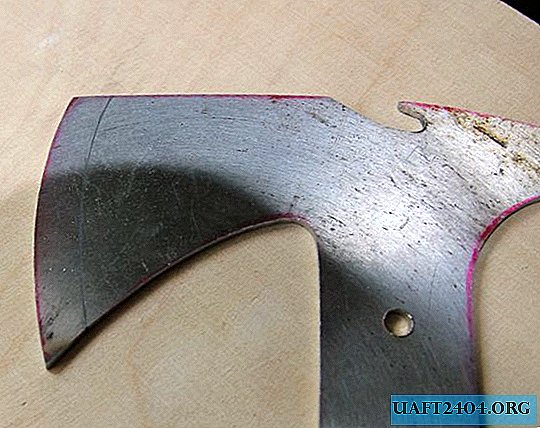
At first, as an opener, I wanted to make a suitable hole in the blade. As a result of test drilling, it was found that it was impossible to make a hole with a conventional drill, so I changed the appearance of the opener. In the image you can see both options. The new type will be made in the form of a hook of a special shape.
Saw
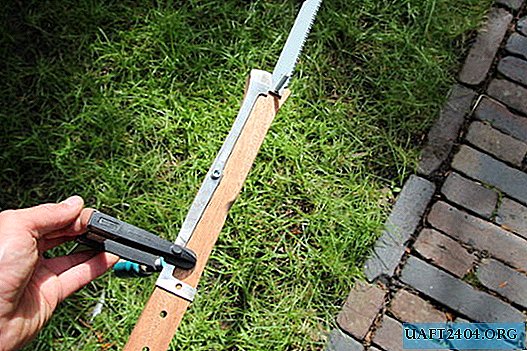
I wanted the ax to be with a saw, and thought it would be nice if it would hide, as in a folding knife. From the handle and it can be laid out using a notch for the fingers. The saw will be hidden between the two pads. The shape of the metal part of the handle will allow the saw to be fixed in both the open and folded positions.
After the design was chosen, I tried it on the blade of a circular saw, so that the sizes fit.
Materials and Tools
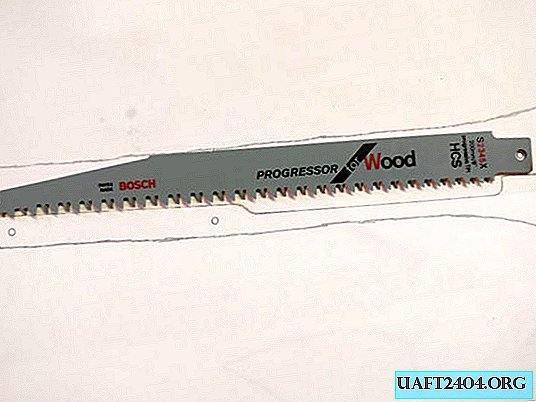
This ax is made from a used circular saw and hardwood that I had. I only had to buy a folding saw blade. It was already hardened, so it did not need heat treatment.
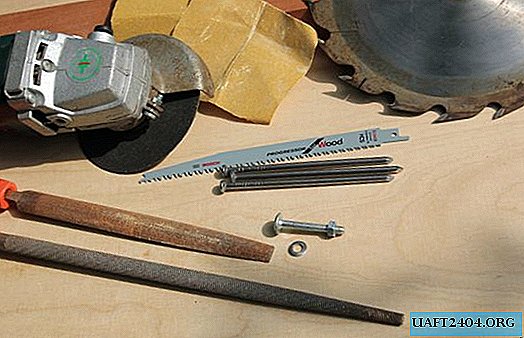
Materials:
- Old blade of a circular saw.
- Hardwood timber (approximately 50 x 40 x 300 mm).
- Epoxy resin
- Large nails for use as rivets.
- Folding saw blade (I used 200 mm).
- Bolt, nut and washer.
Instruments:
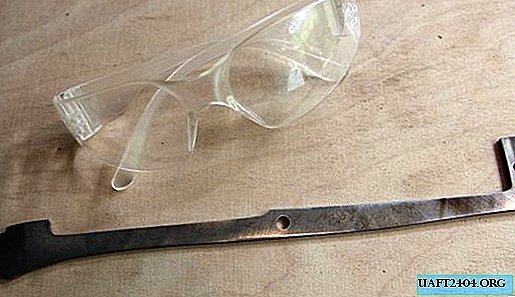
- Angle grinder (do not forget about protective equipment!).
- Rasp.
- File.
- Sandpaper.
- Drill.
Making sparks!
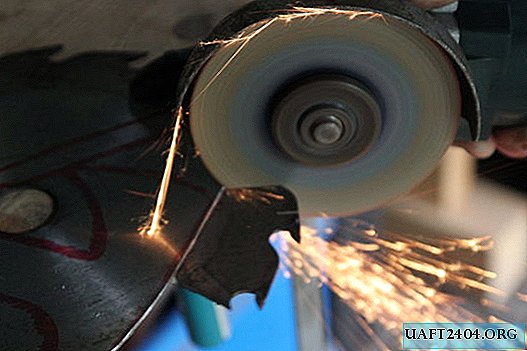
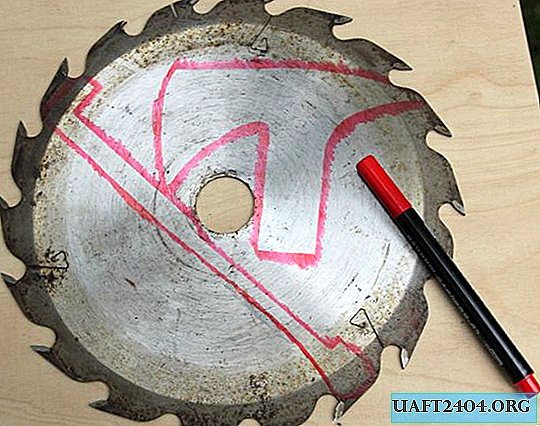
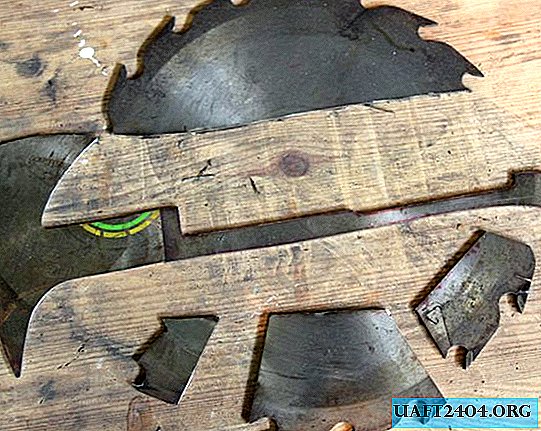
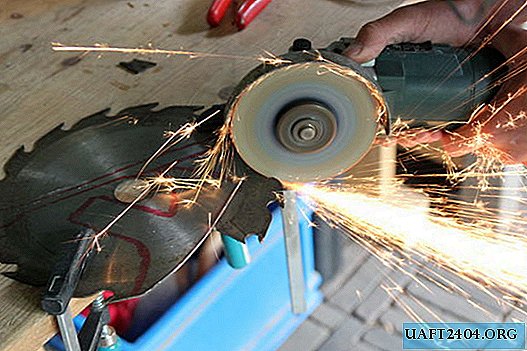

I transferred the outline of the ax and the metal part of the handle to a circular saw and cut them out using an angle grinder with a thin cutting wheel. Then, using a grinding wheel, an angle grinder and files, I completed the formation of the elements. The final shape of the metal part of the handle can be given later.
Handle manufacturing


You can glue the template to a wooden blank and cut two pads. I used my CNC milling machine.
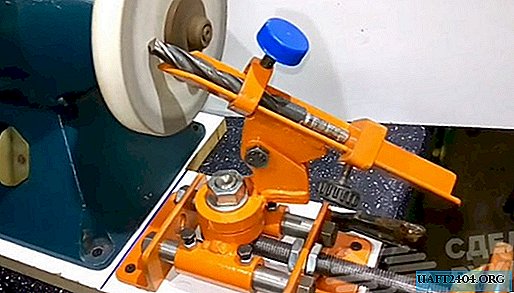
Hardened Steel Drilling

I did not have a drill for metal from carbide materials, so I was not sure how the process of working with a hardened ax would go. I came across a video where it was told that you can use a sharpened drill bit for concrete to drill hardened metal. So I did, and everything turned out pretty well.
Adding Openers

This is probably the most irreplaceable part of an ax! Whenever I go camping, usually in the evening at the fire, my friends and I miss a couple of bottles of beer. Opening them with stones and tree branches is very inconvenient. Therefore, I thought that this detail would be very helpful. I transferred the outline of a conventional opener to an ax blade and cut a recess along it. Works great :)
Handle drilling

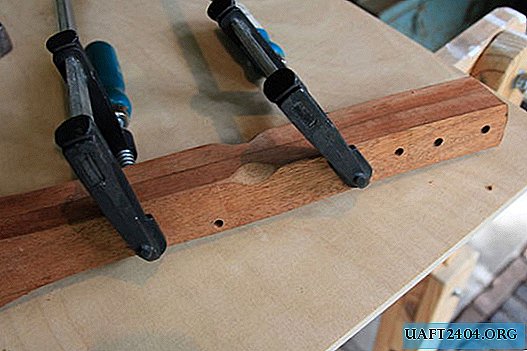


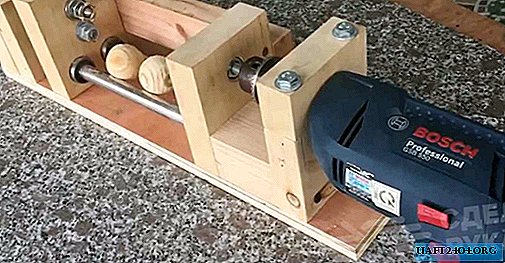
Next, I drilled holes in the handle and checked whether everything fits. The metal part of the handle should serve as a spring, which will fix the saw blade. If it is too elastic, it can be made thinner. At first, I used the metal part of the handle as a template for making holes. Then he fastened two pads with clamps and then drilled a through hole. Thus, all the corresponding holes were in one line.
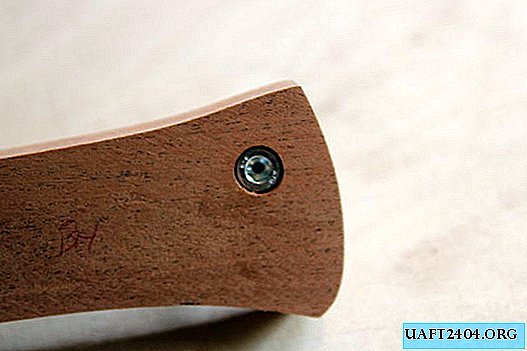
To connect the ax parts without gluing, I used bolts. So you can check whether all the details of the ax are suitable, and whether the saw is folding correctly.
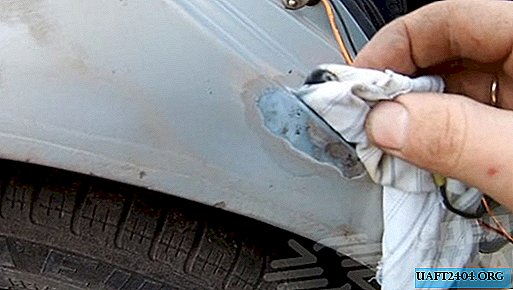
Blade sharpening


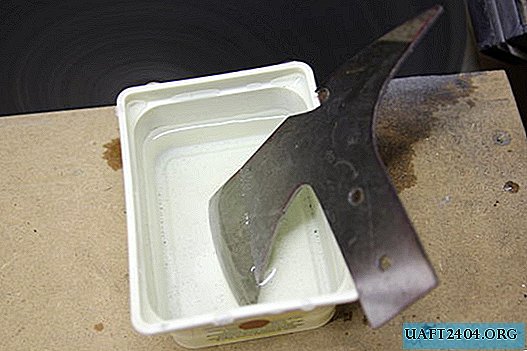
After the contour of the descent of the blade was withdrawn, I used an angle grinder with a grinding disk for rough machining. Then, for finer work, a file and a grinding machine were used (use water to cool the blade). Final sharpening was done using a grinding wheel grinding machine.
I am not an expert in sharpening an ax blade, so you can do it the other way.
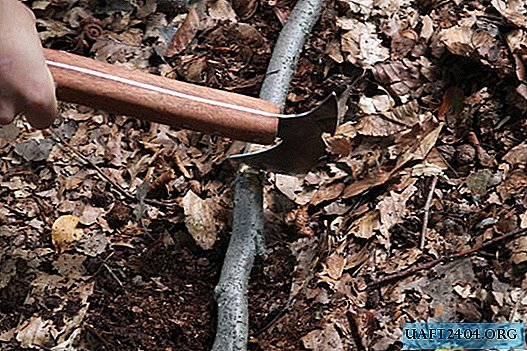
The ax will mainly be used to divide the tree into smaller parts, so I conducted a small test of its functionality.
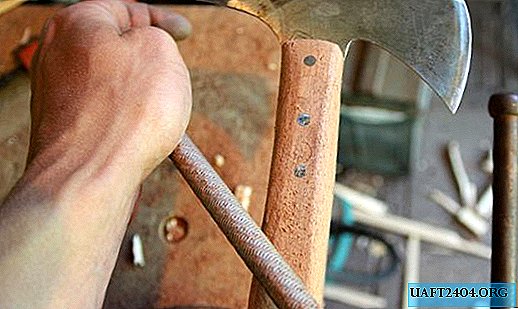
Bonding and riveting


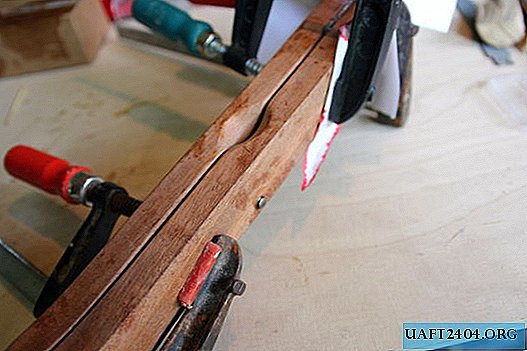
The pads are fastened with two-component epoxy and 5 mm steel rivets (I used large nails). Before gluing everything, do not forget to make finger recesses for convenient folding the saw. For better adhesion of the glue and the metal surface, it can be roughened with a file. We apply glue only on the ax and the upper part of the metal part of the handle. In the handle, the plate should act as a spring.
Shaping the handle


Now that the pads are glued, it's time to give the handle a comfortable shape. I used a rasp, files and sandpaper. It is convenient to process edges with an emery tape.
Polishing and summarizing


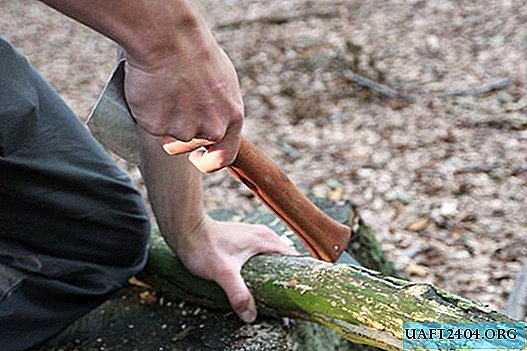
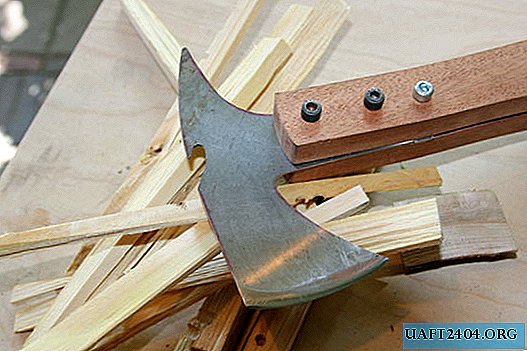
I finished the production by applying polishing oil and installing the saw blade. The ax generally weighs 300 g, so it is convenient to carry with you. In the future I would like to make a leather case for him.
I have not yet taken him on a hike, but in the next landing I tested it. You can cut branches with a saw, and prepare them with an ax to make a fire. The opener works, so the project can be considered successful :).
I hope you enjoyed reading this workshop.
Original article in English
Share
Pin
Tweet
Send
Share
Send