Share
Pin
Tweet
Send
Share
Send
To sew the cover, we need to take:
- Notebook with recipes, in this master class notebook 12 * 18 cm in size;
- Binding sheet of cardboard 1.5 mm thick;
- Sintepon 100 sheet;
- The fabric is thick red cotton in small white polka dots and white cotton with kitchen motifs;
- Two culinary pictures;
- White cotton lace;
- Bronze corners, 4 pieces;
- Brads are red;
- Metal kitchen pendants;
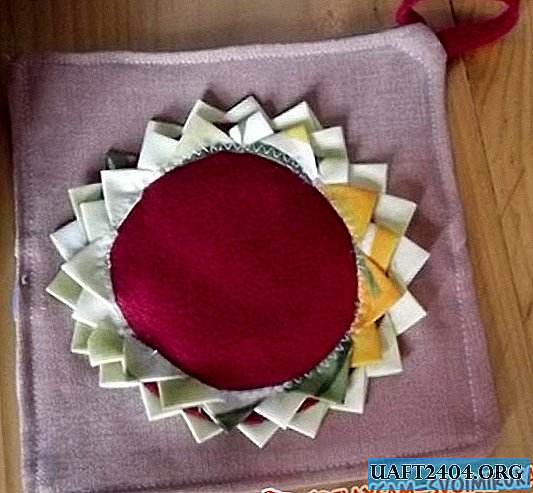
- Flower red fabric;
- Chipboard "Cookbook";
- Scrapbooking paper;
- Hole puncher;
- Satin ribbon with a pattern;
- Napkin red lace;
- White cardboard;
- Glue stick, double-sided tape, glue gun;
- Glue glass effect;
- Bandage, white paper, scissors, ruler, pencil.

Carefully remove the cover from our finished notebook.


We take a binding cardboard, divide it into such parts: 2.2 cm * 18.5 cm and two 12.3 * 18.5 cm.


We cut the cardboard, measure out two strips of 4 * 18.5 cm from white cardboard. With these strips we connect all the parts of the binding cardboard into one. Glue with a glue stick.


Draw a line of bends with scissors. We glue the synthetic winterizer with strips of double-sided tape.


Now take the fabric.


Cut one red cut and two kitchen. We also need two strips of lace and two strips of tape.


Iron the fabric, then sew it together, sew the lace at the joints. Now we turn the fabric over, put a binding cover on it, smear the corners and wrap it. Then we smear the edges, wrap tightly and glue.


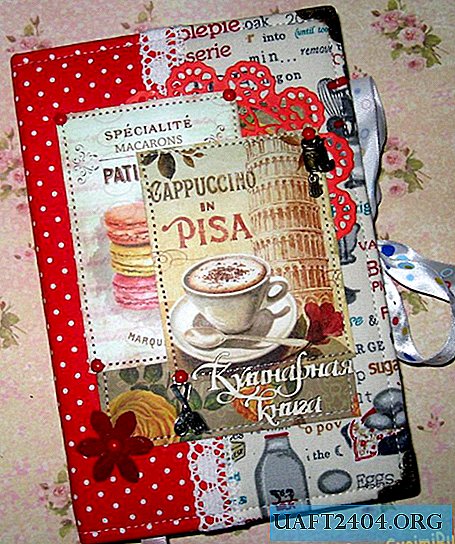
Fold the cover and try on pictures and a napkin. Sew on the edge of the cover, then pictures.


Now, with the help of the brads, we need to fix the pendants and the flower.


Now for the main block we need to make the flyleafs from scrapbook paper. We cut out rectangles of 18 * 24 cm. Divide on the side of 24 cm in half, 12 cm in length and draw a line of bends.


Sew on a pocket on both bookends.


Now the edge of the block is well smeared with a glue stick. We attach and glue one flyleaf, now another flyleaf from below.


We cut off the white paper, smear the edge of the block, the edge of the block and from the bottom we also smear the flyleaf. Wrap and glue paper block. Fasten with clamps.


Cut off the bandage, fold in half, glue on the edge.


Now insert the block into the cover.


We smear one side, glue one flyleaf and clamp on top and bottom. Then we glue the second bookend to the cover and also clamp. We dress corners on all four corners.


We tie our notebook, glue the Cookbook chipboard and you're done. We have published such a bright and beautiful book that will decorate the interior of your kitchen with its beautiful presence. Thanks for your attention!


Share
Pin
Tweet
Send
Share
Send