Share
Pin
Tweet
Send
Share
Send
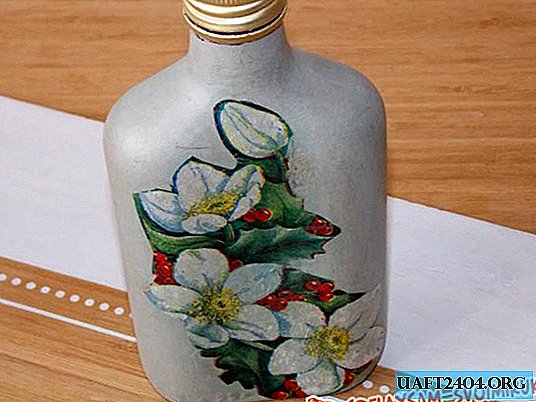
There are no special difficulties in the manufacture of such a craft, and the result can be pleasant and useful.
Previously, we properly treated the surface of the glass container by removing the stickers and wiping with vodka (any alcohol-containing solution is suitable for these purposes), that is, degreasing the "field of activity".
Necessary materials:

• clean flat glass bottle;
• napkins with a pattern;
• scissors:
• PVA glue;
• soft brush;
• white acrylic paint;
• bronze gouache;
• matt acrylic varnish;
• varnish with sparkles;
• a small bowl (for mixing paints and glue);
• wooden stick from popsicle.
Operating procedure:
Pour a small amount of acrylic paint into a small container, add gouache and stir until smooth. It’s enough for us to make it grayish.

Now we arm ourselves with a brush and carefully paint the entire bottle with the resulting paint to the ring under the cap.


As soon as the paint dries (it stops dirtying your hands and sticking), we repeat the procedure by applying the second layer - we need to prevent light from leaking into the bottle.

After thoroughly drying the paint from a paper towel, we cut out the fragments of the picture we need and separate the extra layers (there can be from one to three).

We pour a little glue into the bowl (for convenience) and with the first brush stroke we outline the exact location of the picture on the bottle, applying it to the painted surface.

Next, with smooth movements in different directions (from the center to the edges) we brush with the next portion of glue on a paper towel, trying to release all the bubbles and smoothing the formed folds. On the back of the bottle, glue the second pattern and leave the container in an upright position until the glue completely dries.

When the surface of the container becomes dry, cover it with a double layer of acrylic varnish and dry again.


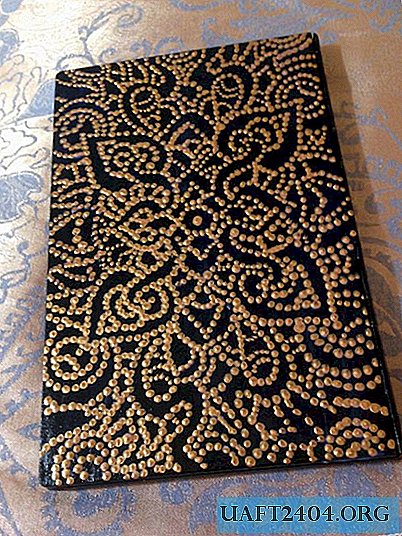
Now we only have to slightly “edit” the pattern with glitter varnish in several places, and our medicine container is ready for use.


When the outer surface of the bottle is completely dry, any liquid can be safely poured into it.

Enjoy your work!
Share
Pin
Tweet
Send
Share
Send