Share
Pin
Tweet
Send
Share
Send
For work we take materials:
- instant coffee.
- PVA glue.
- white dense fabric.
- sewing machine.
- a needle with a thread.
- scissors.
- thin brushes.
- acrylic paints.
- yarn for mane.
- thin lace.
- a pencil.
- black helium pen.
- filler for toys.
Before starting work, you should draw a template for the figure of the horse and its muzzle. The height of the toy will be 12 cm and the width is 7.5 cm. Additionally, small ears in the shape of triangles are needed.

Then, according to the finished templates, we outline the contours on the fabric with a pencil. And it should be folded in two layers.

Next, we sew on the sewing machine along the planned lines, we only leave places where we will turn the toy. On the body, this will be a 2 cm segment in the area of the tail. And on the ears we leave the base of the triangles not wired. When cutting blanks, you can additionally leave the fabric more in places for eversion.

We turn to the inversion and so that the bends are even, it should be on the wrong side to make small notches with scissors exactly in places of complex bends. We take care not to damage the main seam itself.

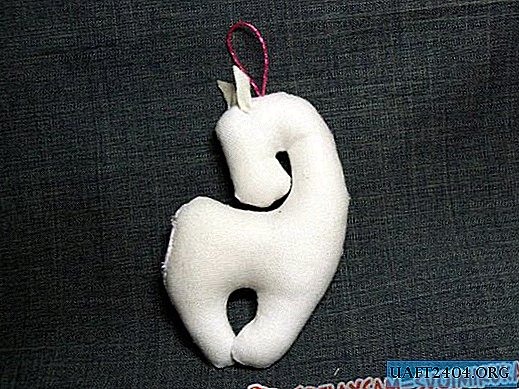
When everything is neatly twisted, we proceed to fill the horse’s base with any filler.


Next, we will attach a loop from a thin cord for hanging toys. And carefully sew up the segment that will no longer be needed. Then, with small stitches, attach the ears to the body. And we process them with PVA glue.
While the ears are dry, start preparing a coffee solution to process the toy. In a small container, we induce a mixture of 1 tablespoon of coffee, two parts of PVA glue and 6 tablespoons of warm water. For a pleasant smell, you can add cinnamon and vanillin as you wish. Mix well and brush our horse completely.

Drying methods can also be different. The main thing is we continue to work with a dry toy. With a pencil, draw the contours on the face and arrange small hearts throughout the body. All these drawings can be changed at your discretion.

When we like the sketch of a future toy, we circle these patterns with a helium pen.

Now go to the hair. We use 12 pieces of cooked yarn of 23 cm each. We take two segments, fold 3 times in half. With each addition, we cut the folds of the threads.
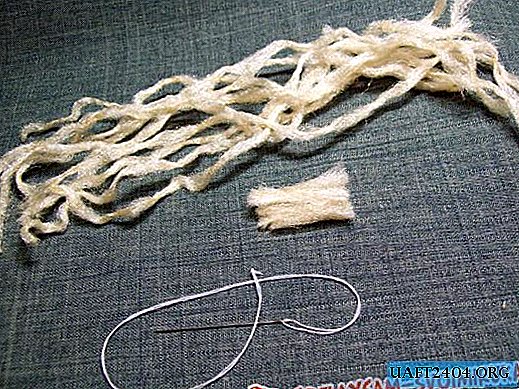
And we sew a small bundle with a needle and thread in the middle and firmly fix it.

Then, without cutting the thread, we place this bundle on the head of the toy, between the ears and fix it. It turned out to be a bang.

There will be 5 such bundles. Distribute them lower throughout the neck.

And for the tail one tracking of the threads will be enough. Fold, fasten with a needle and sew in the right place. And the tail length is adjustable as desired.

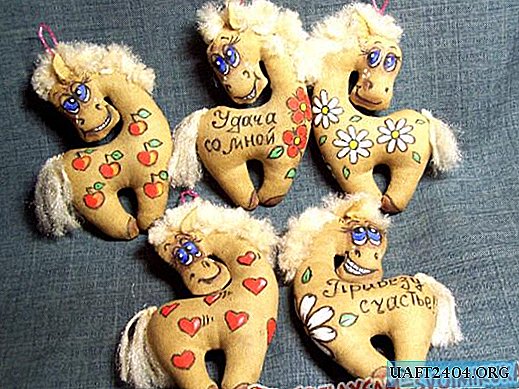
Now we pass to coloring. The hearts will be red and the tongue. Blue eyes draw eyes, add black and white paint. And give time to dry.

When everything is dry, continue to work. You should once again draw over all the contours with a pen and put a white highlight on the pupil. We draw stripes near the hearts, as if they are beating. The horse is ready.

Good luck to all!
Share
Pin
Tweet
Send
Share
Send