Share
Pin
Tweet
Send
Share
Send
So, the materials necessary for the box:
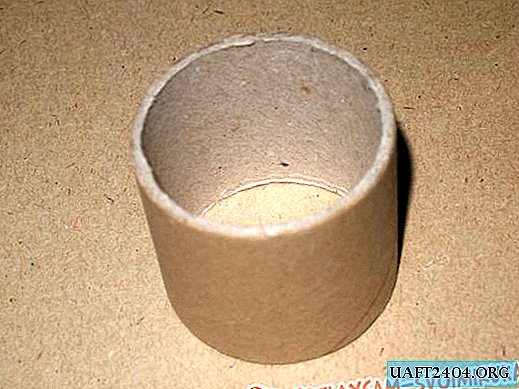
- cardboard tight cylinder;
- jute rope;
- wood beads;
- Crochet hook;
- silicone glue
- cardboard.
First we make the bottom for the box. To do this, draw a pencil on the inside of the cardboard cylinder and get a circle.
It must be cut, leaving an allowance for bending of about 5 mm.

We make cuts and glue the bottom into the cylinder.

Glue one more circle on top for strength by measuring the circumference outside the cylinder.


Take a jute or rope and twist it into a spiral. We fix the silicone glue in the middle to the bottom and continue to wrap the cardboard blank until we close the bottom.


We pass to the side and also wrap the workpiece to the top, cut the rope. Be careful not to see the cardboard through.
We take a hook and knit a chain of air loops as long as a circle at the cylinder.
If there is no hook, you can braid a braid or make a rope harness, glue the decor to close the upper cut.


The lid can be made on the same principle as the bottom, only use the cardboard for the side. I crocheted it from jute.
I scored 2 air loops, knitted 12 single crochet in the third, then doubled the number of loops, that is, to 24. In the third row I knit 36 loops.
And the next two rows are knitted without changes, that is, 36 loops to form a lid.


I also connected the circle according to the same principle to 24 loops and 1 row without changes. I put this circle inside to close the cardboard cuts at the bottom.

Cut a small piece of rope and attach it to the back, that is, we connect the main part and the cover.

On the front side we attach a small piece of rope and tie 1 wooden bead to its ends.


We tie the ends of the rope in front of the bow.
A box for little things is ready.


Share
Pin
Tweet
Send
Share
Send