Share
Pin
Tweet
Send
Share
Send
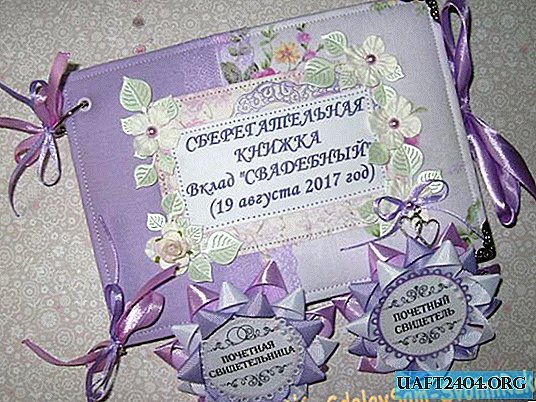
The style of decoration of this attribute can be completely different, it all depends on the theme of the event. I decided to present such a duet.
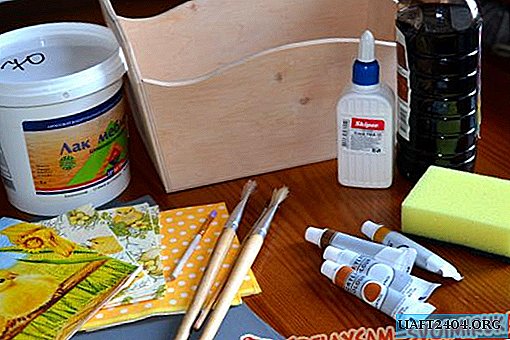
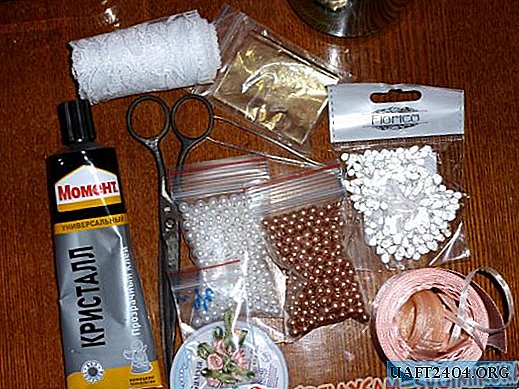
To create these accessories I needed:
- champagne;
- satin ribbons (5 cm and 0.5 cm);
- organza ribbon 1 cm wide .;
- beads of two colors;
- thick fishing line;
- glue moment;
- scissors;
- gold color foil;
- white wide lace;
- small flowers from satin ribbons.
In this MK, I decided to simply describe in detail the process of creating flowers, and placing them on a bottle is a personal fantasy of each needlewoman.
First, we make the largest element - roses. To do this, cut the satin ribbon into squares of 5 cm.

Then we fold it in half so that we get a triangle. The main thing is to accurately combine the corners.

Side corners are also pressed to the first two.

Having retreated down about 1 cm from the resulting corner, we cut off all the corners and carefully fasten all the layers of the tape with a lighter.


On one rose of such petals you need 5 pieces.

They will depict the middle of the bud. Now proceed to the next petals. To do this, add the square diagonally, as in the first case.

And already at this stage we trim the lower corners.

We seal the edges with a lighter, and press the side corners as here.


We also fasten them with fire. I needed 10 such petals for a small rose and 15 for a large one.

We begin to collect all the petals together. We take a small petal and grease the bottom edge with glue.

Then gradually wrap it in a tube.

You need to twist the "pockets" out, then you get such a nice center.

Then we begin to gradually glue it with small petals.

It is the turn of large petals. We also smear it with glue only on the wrong side, and paste it on the rest.


It is important to note that it is not necessary that the bottom edge be exactly the bottom of the previous petals. If you shift it a little, the rose will turn out nicer and more open.

In the end, it turns out such a beauty.

Since I will mount it on a flat surface, Cut off all the bumps below and glue it so that the petals do not fall out of the middle.

When I decided to make such bottles, I drew a rope with beads as an obligatory element in my imagination. But what, was my surprise when, in none of the shops of the city were they? I came to the conclusion that they would have to be done on their own. I bought a skein of the thickest fishing line and beads of those colors that perfectly fit my color scheme.

I cut the fishing line into pieces of the desired length, and then simply applied a drop of glue to the fishing line, strung a bead and gave it time to stick.


These are the cables I got.

I came to the conclusion that I will continue to do so in the future (economically, and there are always the right colors). For the following flowers I used organza and a thin satin ribbon.

Cut the organza ribbon into 8cm segments.

Then we fold them in half and fasten the edges with a lighter.

We collect all the obtained "droplets" on a thread and fix with a pair of stitches.

We perform the same procedure with a satin ribbon.

Then just connect the two bows together, and close the place of the knot of thread with a bead.

In the end, I came to the conclusion that the rose on the bottle would not look very impressive, so it was decided to make the background of tulle. Since I decided to use 2 roses for each bottle, I measured two stripes.

Then, we fold each strip several times and carefully cut out such a corner.


The result is such a Christmas tree.

We collect the lower part of the tape into thread with small stitches.

We tighten and fasten around.


Now, glue the rose in the center, and insert our cables.


The whole subsequent process is a flight of fancy. She glued sheets of foil on the bottom of the bottle and covered it with lace on top. Well, the remaining elements are placed at your discretion.

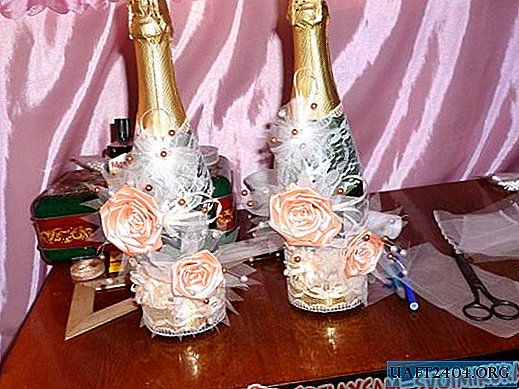
Here is a set I got.
Share
Pin
Tweet
Send
Share
Send