Share
Pin
Tweet
Send
Share
Send
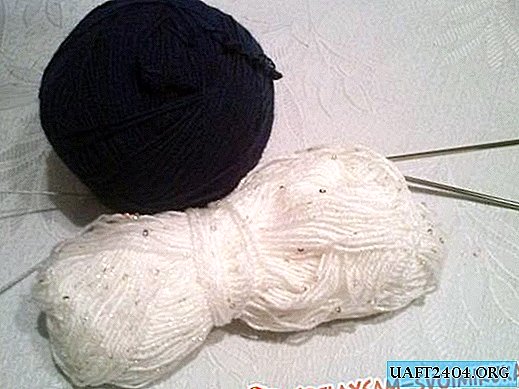
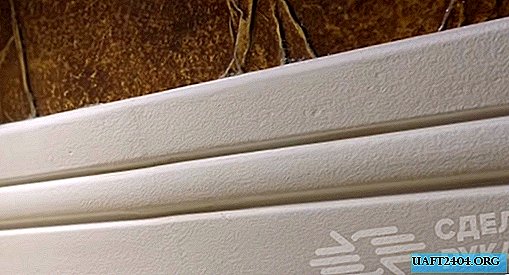
It is important to remember that embroidery thread should be at least 40% thinner than the main thread. For example, if my main goes to 3, then the other goes to 1.5 thickness. We collect 70 loops on the knitting needles and knit it with the wrong knit.

We knit the whole collar with a stocking pattern, in which the wrong side alternates with the front one. Do not clutter the clamp with patterns and embroidery (even if only one small element) at a time. Firstly, it does not look very nice. Secondly, the use of other patterns can complicate the embroidery process, especially when you need to count the number of "crosses". You choose the length of the clamp yourself. I did it two turns, while leaving some free space for the jacket collar, so the approximate length is 110 centimeters.

I would not advise doing a length of 3 turns. The width of our clamp is about 40-45 centimeters, depending on the density of knitting and thread. Three turns, and this is almost two meters long, of such a width will look ridiculous, besides wearing it is uncomfortable. Having finished knitting a scarf, remove the loops, leaving the last.

Then we connect both edges of the scarf with a hook so that we get a collar.


It should be noted that the beginning of the scarf will be slightly wider than the end, although there and there are 70 loops. This is because the start of knitting is always more free. Moreover, with the final contraction of the loops, the width narrows. You do not need to be afraid of this, but the main thing to remember is to correctly calculate the connection. Here we have to get such a seam on the front side after joining.

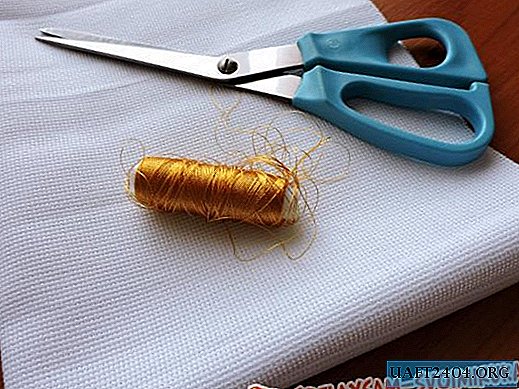
Then proceed to embroidery. We will need a needle with a large eye so that we can freely populate the thread.

For embroidery, I chose a butterfly - the first thing that caught my eye. If you can’t calculate the embroidery pattern without the previous scheme, it is better to find it in a book or on the Internet. You can draw a pattern yourself, and only then embroider it. In this case, one cell from the notebook should be counted as one and a half "cross". First, embroider the body and wings.

To make the embroidery look beautiful, the threads should not be tightened, they must be left a little loose. Then embroider the antennae. To do this, we use the usual method of sewing "needle forward" or "needle back".

That's all. We got the original butterfly clamp.

With free knitting, the scarf can spin. So that this does not happen, soak it first in warm (by no means in hot !!!), and then in cold water. Squeeze the water lightly and let it dry. After such a simple reception, the threads will straighten out and you will have a wide beautiful clamp.
Share
Pin
Tweet
Send
Share
Send