Share
Pin
Tweet
Send
Share
Send
So, having a certain supply of unnecessary, old gadgets, a bit of free time and simple tools, you can build the remote shutter switch for a digital camera yourself.

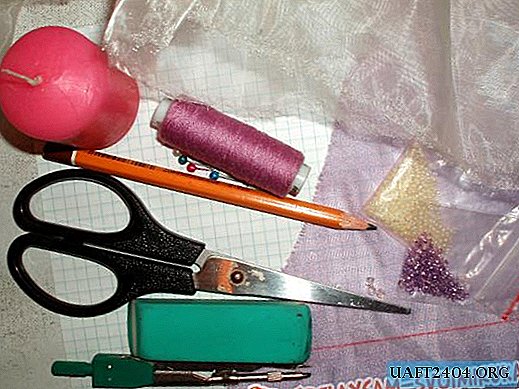
You will need: an old, still push-button telephone, headphones (headset).
Of the tools: a soldering iron, wire cutters, files, in general, a simple home set.
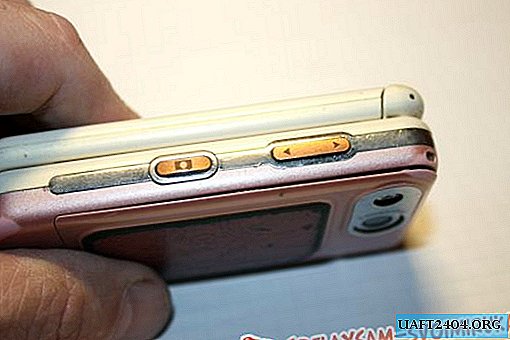
From phones (smartphones) we only need external buttons. These can be power buttons, camera buttons, volume buttons. Most often they are on the side surfaces. It is desirable that the buttons are paired, that is, double as at the volume.

A headset is needed with a box of buttons. It may be a headset for Nokia, Alkatel or other manufacturers. This box will be the case of our remote switch.

In general, in the presence of imagination, any convenient box can serve as a body, in which our two buttons will fit beautifully. Even better, if the button is one, but with a double tap, as in all photo cameras. The first press-sharpness, then press - shutter release. Such a button can be placed, depending on the size, at least at the end of a thick marker.

There are two types of plugs on headsets. For simplicity we’ll call them “thick” and “thin”. So, we need “thin”, because it is he who comes to the corresponding socket in the camera. But it doesn’t matter if the plug you find on the headset is thick, there are adapters for them.

So, to begin with, we disassemble (break, kuroch) the old phone suitable for us. We need to get to the place on the board where the side buttons are located. The buttons themselves on the board and push buttons on the phone.

Did you find something similar? We take a headset. We disassemble the box with the buttons. With a knife with a thin blade, divide the box into two halves.

Inside there is a microphone, a button and a wire going to the plug, which has three thin, metallized wiring and shielding. Postings are blue, red, green and plain postings are unpainted. We take out all the filling from the box. Gently bite off, cut off the maximum length of the wires, and pull out a piece of wire with a plug from the box.


Next, we cut out two adjacent buttons from the phone board. Regular buttons have four outputs, and they work - the top two close when you press the bottom two. In my case, the pressed button closed the output diagonally. Plug the plug into the camera, turn it on, and with a wire closure, remember which combination works for focusing and which one works for shutter. Usually the combination of red and green is focusing, and if you add unpainted to them, the shutter also works. Solder the focusing pair to the first button, and the third wire, having experimentally checked where to solder it, solder to the second button. The blue wire (fourth) we do not need.


Check the operation of the digging. Think about how to fix the scarf inside your chosen case so that it does not hang, and the buttons are just below the top panel. I fastened three pieces of plastic with Supercement cyanoacrylate glue. And between them I inserted a board.


I cut the top panel out of a suitable piece of black plastic. It can be a piece from the case, or the screen of the same phone. Gently cut and trimmed the file holes for the buttons with a file. Checked and put it all together.


Be smart and imaginative. The housing for the switch may be from any suitable box. The button can be exchanged for homemade plate contacts.
Good luck in the assembly.
Share
Pin
Tweet
Send
Share
Send