Share
Pin
Tweet
Send
Share
Send
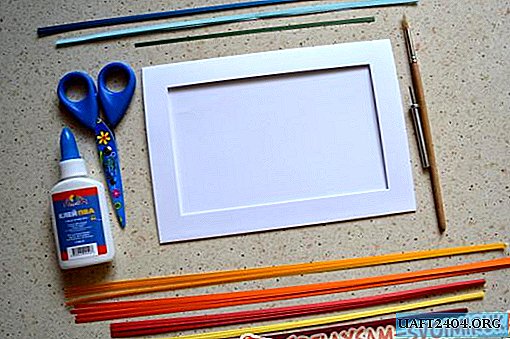
We hope this workshop will inspire you with different ideas for creating autumn bouquets. So what we need:
• newspapers
• PVA glue
• round base in the shape of a ball
• construction foam
• wooden handle
• scissors, knife
• white slanting trim (you can take a regular tape)
• white office paper
• white corrugated paper
• white thread
• artificial flowers and leaves
• artificial vegetables and small fruits
• Super glue
The bouquet will be voluminous, for this it is necessary to create a base that is round at the top and flat at the bottom (where the handle will be). For this purpose I used a piggy bank, it is made in the shape of a ball for me. You can take any round item. I wrapped it in a plastic bag and began to paste over with pieces of newspaper and PVA glue.

Make several layers of the newspaper so that our base for the bouquet is solid. Leave on for a couple of hours until completely dry. Next, we are faced with the task of filling our base with something from the inside so that the handle is firmly fixed. And do not make the bouquet heavier. I got construction foam. I had to blow out our workpiece, but do not forget to insert the handle of the desired length inside. My hilt is 15 cm long.

Leave this design overnight. Everything should dry thoroughly. The next morning we cut off the excess foam, align the edges, and here we have such a fungus.

I want to note that the workpiece turned out to be very solid and durable, and most importantly - almost weightless. The handle was so firmly fixed that it was impossible to move it even by a millimeter. In order to hide multi-colored scraps of newspapers, I pasted the blank with cuts of white office paper and PVA glue.

Then pasted the blank with white corrugated paper and fixed it at the bottom of the handle with glue and secured it with a thread around the handle for reliability.

We wrap the handle with a white slanting inlay and thereby hide the edges of the corrugated paper.

Don’t worry, if you didn’t succeed in perfectly sticking the corrugated paper perfectly, you won’t be able to see this in finished form. Now, finally, we will move on to the most interesting - to the decor. We begin to decorate the workpiece from the edges, pasting it with artificial leaves. For this, I used superglue. We seal the layer of leaves by gluing on top leaves that differ in color and texture from the previous ones.

We glue artificial flowers on the leaves, as shown in the photo.

In the next row we alternate flowers with vegetables and fruits.

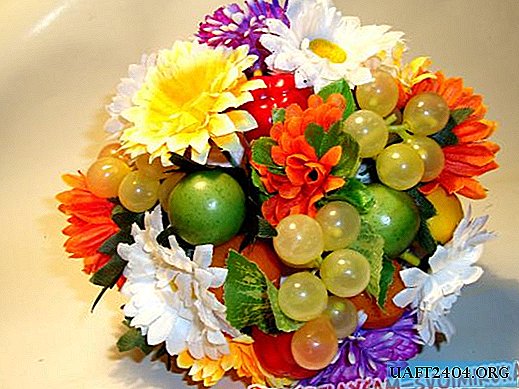
And we just have to close the top of the bouquet with flowers and fruits.

I still had figurines of vegetables and fruits, and I decided to seal them with the lowest layer of flowers. Here is a photo of the finished bouquet from different angles.


Share
Pin
Tweet
Send
Share
Send