Share
Pin
Tweet
Send
Share
Send
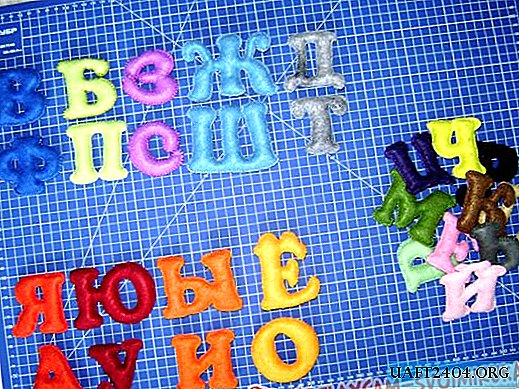
Today, stores provide a huge selection for children of various toys made of plastic, material, wood, metal, etc. Someone likes to design, and someone, hugging his soft teddy bear, falls asleep and wakes up in the morning. But the best toy for a child is one that will be made by mom’s hands. Today it has become popular among young mothers to make soft felt letters from home: they are pleasant to the touch, soft, and easy to sew. Any woman who knows how to hold a needle and thread can take up the matter. Most importantly, letters can be sewn interrupting to perform other things, especially for those who have a small child. First, housework, but in your free time you can do your favorite creative work. All kids love letters from felt, not to mention the tiniest ones who like to study everything and tactfully get to know objects. Such toy letters are easy to wash in a washing machine at high temperature and are wrung out in a mode of four hundred revolutions. What is surprising - the letters are not painted, and the color scheme remains as bright as before washing. The alphabet, before giving a small child to play, should be washed, because at that age the crumbs will taste what the letters are made of, and if teeth have already appeared, then gnaw a little.
Materials and Tools

Before you start sewing the alphabet, you must select the color of the felt. Then determine the thickness of the fabric - it should be approximately one millimeter. It should be noted that if the felt is hard, it will be much easier to cut out elements from it, and the letters, in turn, are more voluminous.
In the version that is presented, multi-colored letters are shown, and those letters that have a pair (bp, zh, zs, etc.) have the same color. This was done specifically so that when preparing for school it is easy for a child to learn the alphabet, and the color will help, accordingly, determine and remember which letter is a vowel or consonant, voiced or deaf.

After choosing felt, we proceed to the selection of thread floss. They need to be folded six times, and the floss should be in the same color as the fabric. A line that differs in color looks very interesting. Original and creatively executed alphabet will please not only the child, but you and your friends. Stuffing felt letters is better with holofiber. For the convenience of filling, a bamboo stick is great. Four hundred grams of holofiber will be enough.
Before work, you also need to stock up on a set of needles with comfortable double ears, pins and scissors. As for the latter - the scissors should always be well sharpened so as not to damage the fabric, as well as the pointed ends of the scissors will help to cut out any element without difficulty. It is worth noting that the scissors for felt and paper are completely different, so you need to use only those that are designed specifically for the fabric.
Making the felt alphabet
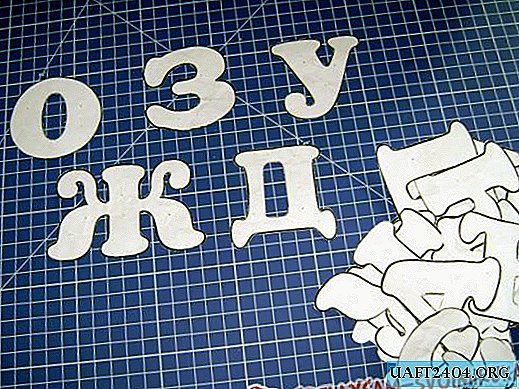
Font selection of the future alphabet and printing it on a printer (we offer a ready-made version in PDF format) - DOWNLOAD

Attaching cut letters to felt and drawing a contour marker. The marker will be erased over time. It is necessary to take into account the sides of the letters, and the line should be invisible after stitching. It is best to pin letters from paper with pins to the fabric.

Each letter consists of two elements that are sewn together with a buttonhole. To retreat from the edge you need about one and a half to two centimeters.

In the letters F, B, A, P, O, I, Y, L, B, the holes are first processed and then the sides are sewn together.

As soon as you flash a bit, you can already fill a little with holofiber and flash it further.

When the letter is full, close the seam and tie a knot, and remove the end of the thread.

Our felt letter is ready, and if you wish, you can make the whole alphabet, which will help the child also learn how to quickly add words.

Share
Pin
Tweet
Send
Share
Send

