Share
Pin
Tweet
Send
Share
Send
To make feta cheese at home, you will need:
homemade milk;
cheese enzyme;
water thermometer;
a large pot or any other capacity for the stove;
colander;
gauze or thin white cloth;
salt.

The final result is greatly influenced by milk - it must be homemade, and the fatter it is, the more cheese you get in the end. About 10 kg of cheese can be made from 10 liters of medium-fat home-made milk.
Important: if you do not have your own milk, you need to buy it only from trusted sellers who monitor the cleanliness and health of their animals. This is due to the fact that milk in this recipe does not undergo proper heat treatment.
So, pour the milk into the pan, and then put it on a slow fire. Do not go far, as it will heat up (to the desired temperature of 35 degrees) quickly.

At this time, you can engage in the cultivation of the cheese enzyme Meito, which you can buy at any specialized online store. The enzyme bag is designed for 100 l of milk, so it must be divided in advance into 10 parts. Dilute one of the parts with 100 ml of water at room temperature (not hot).

While you mess with the enzyme, the milk will become a little warm. This is enough, but just in case, check its temperature. If you do not have a water thermometer on hand, you can use its household electronic counterpart, however, it should have 100% water resistance. The temperature of warm milk in this recipe does not exceed 35 degrees, so a conventional electronic thermometer successfully copes with the task.

Next, pour the prepared glass with the enzyme into the pan removed from the stove, then carefully stir the milk. At this stage, your participation in the preparation is ending, as milk must be left for 20-30 minutes.
Half an hour will pass, and you can return to the future cheese. During this time, milk turns into a gelatinous substance, which must be cut into small pieces with a knife (right in the pan), and then left for another 15 minutes.

The next step is the removal of serum, for which carefully transfer the mass to a colander with gauze (under a colander you need to put some container to collect serum). In the future, it can be used to make pancakes, bread, and just drink it. Also, to speed up the process, it would be nice to make a little oppression using an ordinary can of water.

After an hour, the cheese must be carefully turned over so that the whey drains better. By this time, the mass becomes dense, a clear drawing of a colander appears on it, so you can already remove the gauze.

After another hour, the cheese is poured with brine (whey and salt just above your taste). It is not necessary to keep long in brine - 15-20 minutes are enough.
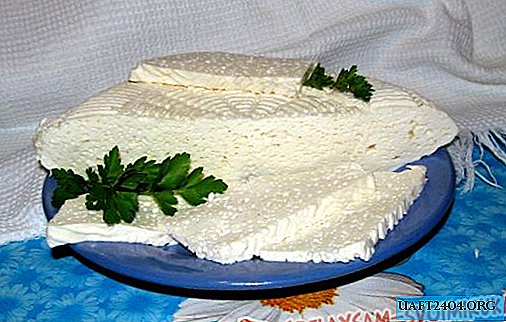
Please note: if you like the holes in the cheese, leave it for another couple of hours without a refrigerator.

Everything, delicious homemade cheese is ready.
Share
Pin
Tweet
Send
Share
Send