Share
Pin
Tweet
Send
Share
Send
Sewing such a handbag will not take you much time - only about half an hour, and it is so simple that parents can also connect children to the needlework process.
To make a wallet, you will need a small piece of leather for the bottom of the product, a small rectangle of the main fabric (approximately 16 by 30 cm, depending on what size you want the finished product), slanting inlay, gold soutache, beautiful beads, drawstring.
First, we cut out two circles of the same size from the skin and the main fabric - in order to make it even, you can, for example, circle a cup or a jar.
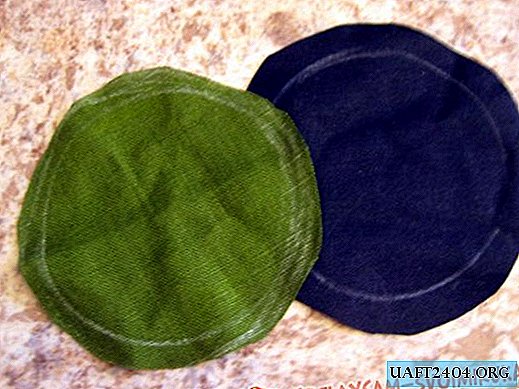
We sew them together along the edge - the bottom of the bag is ready. Instead of skin, you can use any dense material - this is done so that the bottom is dense, and our wallet is shaped and stable.

After that, we cut out a rectangle, the long side of which would be equal to the circumference plus a centimeter on each side for a seam allowance. We determine the height based on what size we want a finished wallet. For this product, we used a rectangle of green flax measuring 18X28 cm.

We bend the upper edge twice and process it. Closer to it, mark the line and attach a slanting trim or ribbon along the upper and lower edges - there we will insert a cord so that the wallet can be tightened.

If you are planning a complex design, it is best to complete it while the product is not yet stitched, otherwise, it may be inconvenient. For this product we took a beautiful golden soutache.

The cord is neatly tuned to the product in the form of an arbitrary pattern. If you sew a wallet as a gift, you can add up the soutache in the form of a name or a congratulation. In the loops of the pattern for beauty, gold beads are sewn in tone.
Next, we sew the decorated rectangle to the circle, folding it with the front sides inward, then we make a side seam. Do not forget to process it so that the fabric does not crumble. Be careful and leave a piece unstitched in the middle - because we will stretch the laces through the slanting trim.

You can perform another option and place the cord not in the middle, but on top of the product, then the wallet will have a different silhouette. We turn out the product, and now our miracle wallet is ready!

Share
Pin
Tweet
Send
Share
Send

