Share
Pin
Tweet
Send
Share
Send
Materials and tools.
For work you will need:
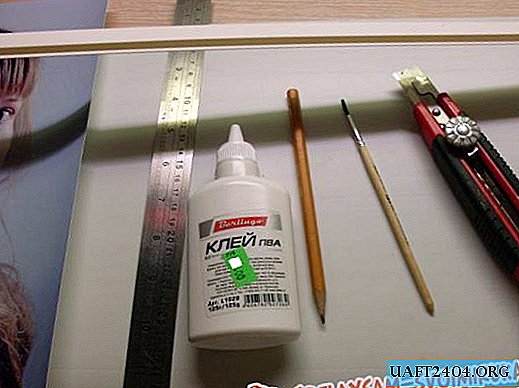
PVC panel. A plastic start that is commonly used for fastening. PVA glue. Glue brush A simple pencil. Ruler. Paper knife. Scissors. Solid substrate. The photo. Patience.
Working process.
Work is carried out on a substrate so as not to scratch the surface of the table.
1. Using a pencil and a ruler, mark a rectangle on the surface of the panel, the dimensions of which correspond to the size of the photo + 0.5 cm. The reserve is needed so that a start that is fixed later does not cover the image. Cut the resulting contour. Plastic panels are very easily and evenly cut with a regular stationery knife.
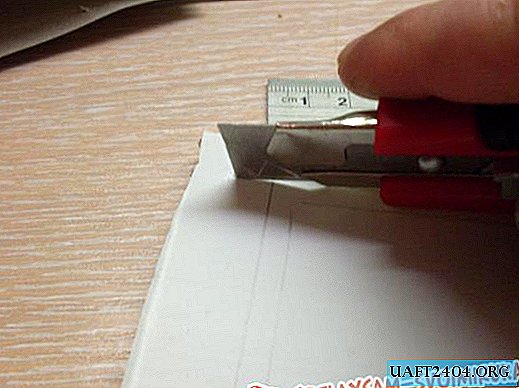
The basis for the frame is ready.
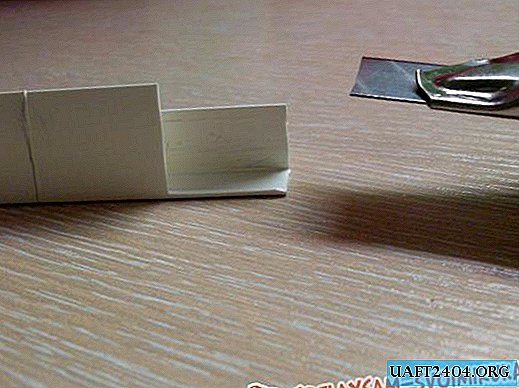
2. Next, prepare the starts, which will serve as a frame for the photo. We cut four strips, the lengths of which should be equal to the size of the frame.

Starts put on the panel rather tight, so for convenience you can make a few cuts on the wider side. At the edges of the planks we make cuts so that there are no overlaps on the back that will ruin the look of the photo frame.
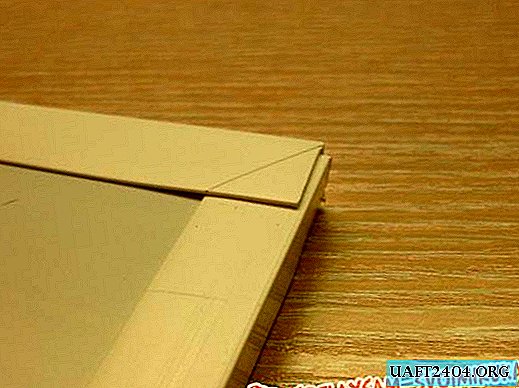
3. Fasten the prepared starts along the edges of the panel.

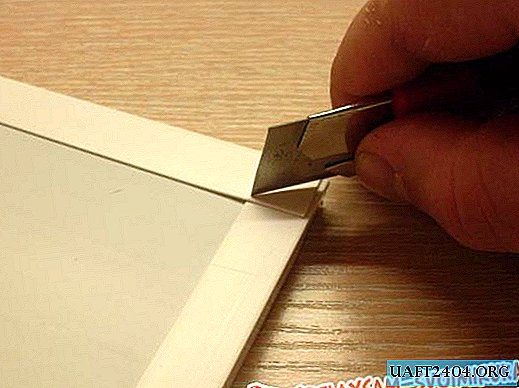
4. The next step is the processing of the corner joints on the front side. Starts are carefully superimposed on each other and on the top we mark the junction line. We cut both strips for marking. In the finished form, the frame looks like in the photo.
Done! It remains only to insert a photo!

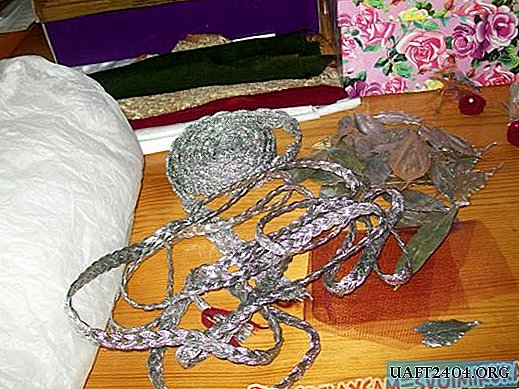
Dressing.
Here you need not limit your imagination! You can leave the frame white, you can paint it in any color, or you can decorate it with what is at hand. During operation, it is better to cover the photo with film or glass, so as not to stain.
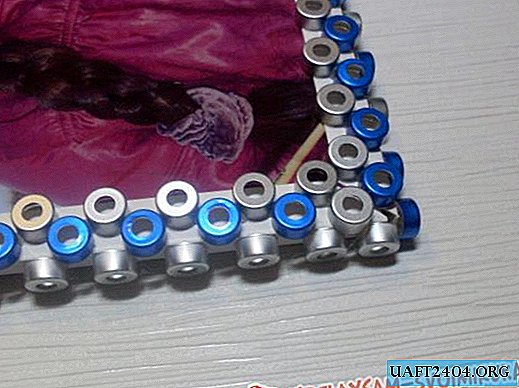
1. Aluminum caps from small pharmacy bottles will add volume to the frame and look very original. Just glue them in a checkerboard pattern.
2. The same caps, but cut in the shape of a flower. Glue a small bead in the middle.

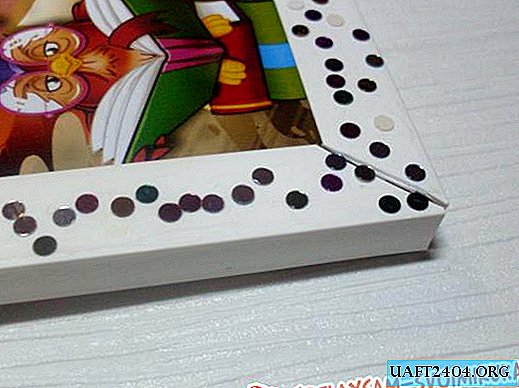
3. New Year's Clapper Confetti - a great decoration for children's photos. Glue them to the frame in random order (or better in a mess).
4. Even a detail from a broken hairpin can become an original element of decor.

5. If the frame is evenly coated with spray paint, then the reverse end of the glue brush can scratch out such an interesting pattern.

In this way, you can create photo frames of any shape and size, one of a kind. The main thing is not to be lazy and take care of your fingers when working with a knife!
Share
Pin
Tweet
Send
Share
Send